
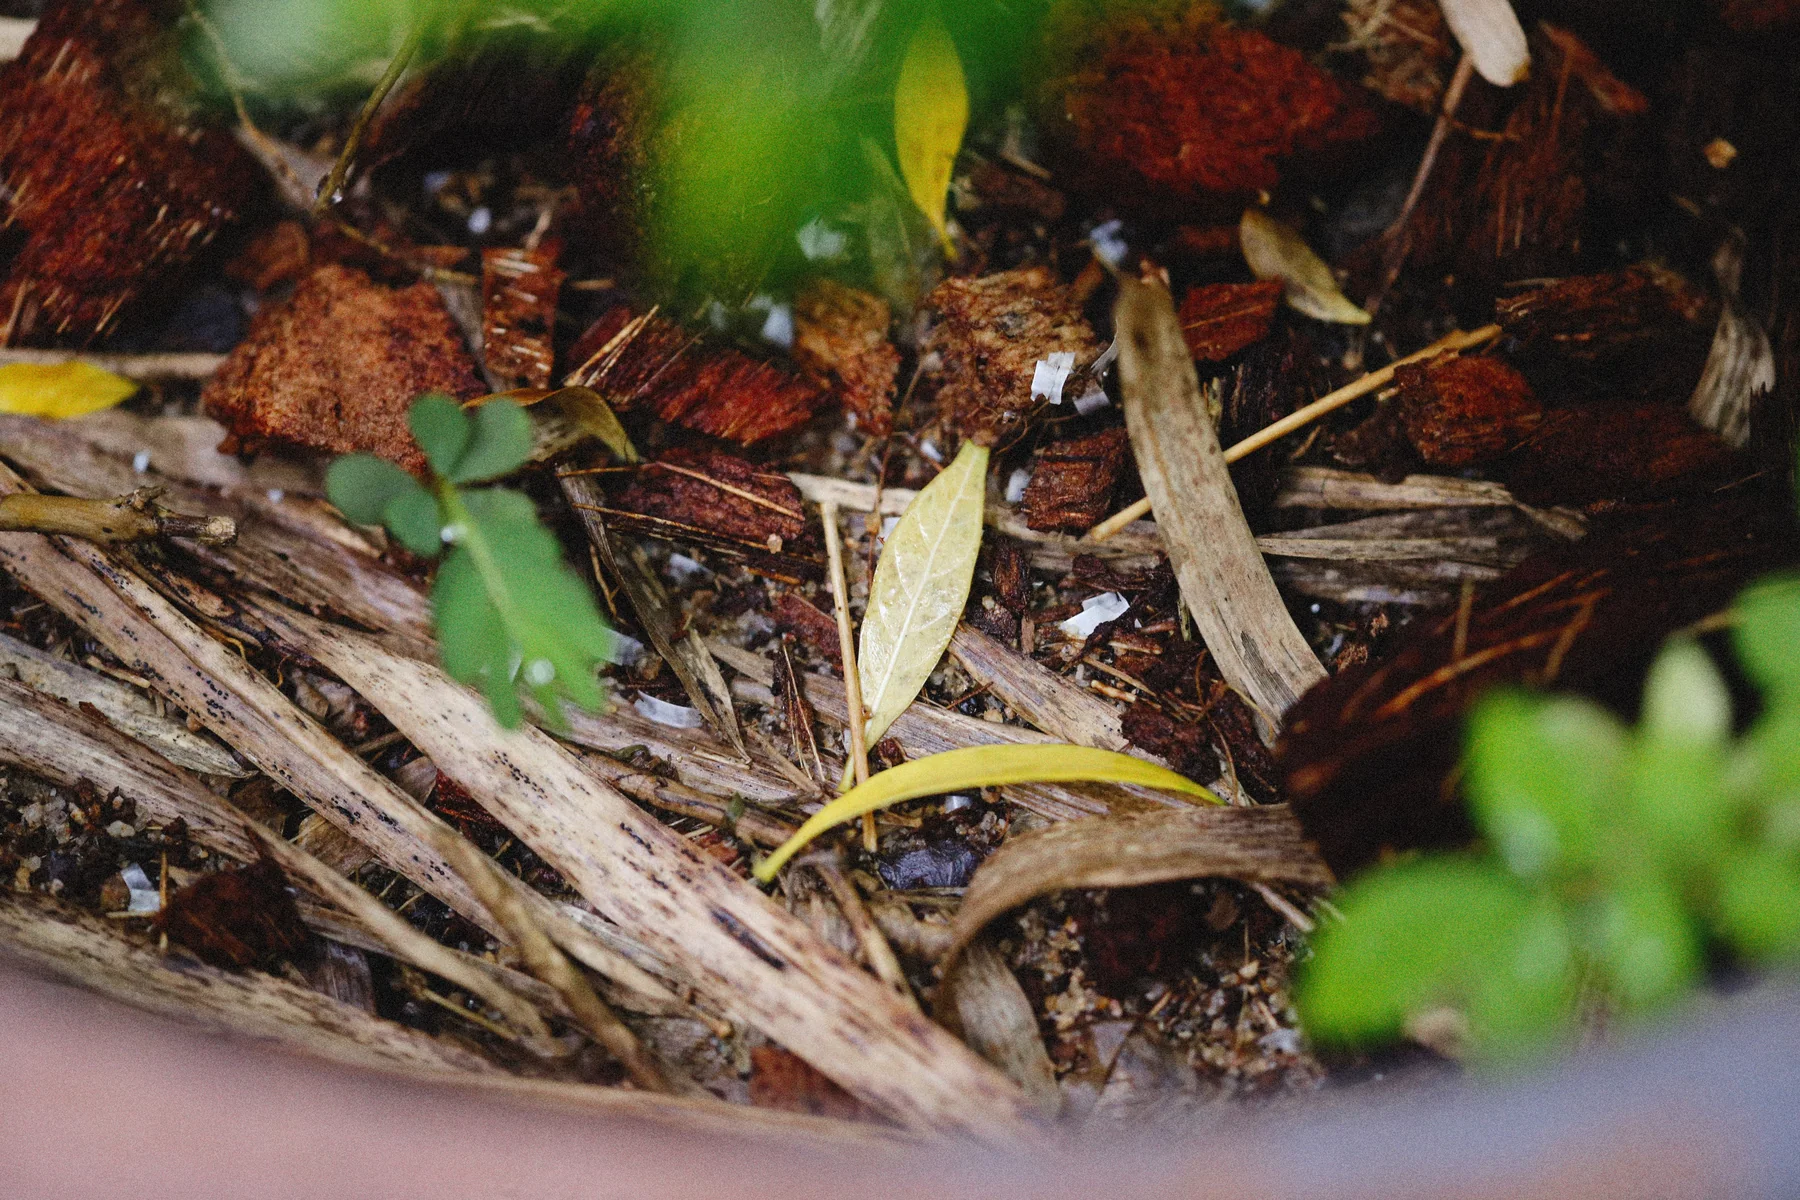
Sieving compost is a way to make its texture more uniform, not a way to turn unfinished or unsuitable material into a safe potting mix. For container gardeners, the screen can remove sticks, undecomposed clumps, and large debris that obstruct a small root zone. The finer product is easier to blend and measure, but it may also hold water and salts differently. Test the finished material before putting it into every pot.
Check maturity before screening
Finished compost is generally dark, crumbly, and earthy-smelling, with few recognizable food scraps or fresh plant pieces. A warm pile can still contain active decomposition, so heat or a pleasant color alone does not confirm maturity. If the compost smells sour or contains slimy chunks, return it to the pile and improve airflow rather than screening out only the visible pieces.
Do not use compost made from diseased plants, invasive weeds with mature seed, or material contaminated with pet waste or unknown chemicals unless a reliable process and local guidance establish it is safe. A backyard pile may not reach the temperature and duration needed to kill every pathogen or weed seed. Screening does not disinfect compost. Keep suspect material separate and follow municipal or Extension disposal instructions.
Check the source and ingredients. Compost can vary in nutrient content, salts, pH, and contaminants. If it came from a municipality or supplier, read the label and any test results. If it is home-made, record inputs such as leaves, vegetable scraps, manure, and wood chips. Avoid a batch with an unknown industrial source for food-growing containers.
Select a screen for the job
Use a stable frame and mesh that removes coarse material without turning compost into powder. A very fine screen can strip out useful structure and leave a dense fraction that compacts in a pot. Wear gloves and eye protection if the material is dusty, and screen outdoors or in a ventilated area. Avoid breathing compost dust, especially if you have asthma or allergies.
Screen only material that is dry enough to fall through but not so dry that it creates dust. Break clumps by hand rather than forcing them through the mesh. Return woody fragments and incompletely decomposed pieces to the pile. Keep separate trays for finished compost and reject material so they do not get mixed back together accidentally.
Use a small test blend first
- Measure the finished compost: record the container or bucket volume used.
- Blend with a container medium: use a conservative proportion from a trusted crop or container guide.
- Moisten evenly: let the blend sit briefly, then check whether it drains and holds moisture appropriately.
- Plant a small test: use a fast crop or a few seedlings before refreshing every pot.
- Watch for salts: check crusting, leaf-edge burn, and poor germination; use a media test if concerns persist.
- Adjust the next batch: change one component at a time and record the result.
Do not assume that more finely screened compost is better for seedlings. High nutrient or salt levels can inhibit germination, and small roots are sensitive to an imbalanced medium. Seed-starting mixes are often designed to be lighter and lower in fertility than mature container mixes. Keep compost away from tiny seed unless the crop-specific method supports its use.
Preserve structure and nutrient balance
Compost is an amendment, not a complete replacement for a soilless container blend. The pot still needs air spaces, water retention, and drainage. Penn State container guidance describes using soilless mix and adding finished compost within a limited proportion; follow the exact regional recommendation and crop need rather than using a handful as a universal unit. A small test pot can reveal whether the mix stays soggy or dries too quickly.
Repeated compost additions may increase phosphorus, pH, or soluble salts. If a plant shows poor growth, do not add another layer until you identify the cause. Soil tests help determine whether pH or nutrients are already high, but a garden-bed soil test may not be appropriate for soilless potting media. Ask the lab which test to request.
Clean tools and store the finished batch
Wash the screen and tools after processing a diseased or questionable batch. Let them dry before storage. Keep finished compost covered against rain and wind so nutrients do not leach and the texture remains workable. Label the batch date and source; a tote marked only “compost” loses the information needed to judge its use later.
Limits
Compost maturity and safe use depend on feedstocks and pile management. Screening removes size differences but not pathogens, herbicide residues, excess salts, or contaminants. Use local composting guidance, supplier test information, and soil/media testing when appropriate. Do not use this article as a sanitation certification.
Keep a consistent batch size
For repeated container blends, use the same scoop or bucket and write down the ratio instead of describing it as “a little compost.” A repeatable measure makes it possible to compare two pots next season and to avoid gradually increasing the compost fraction with every refresh. If the blend performs poorly, change the ratio or medium type once and record which pot received that change. Consistency turns sieving from a cosmetic task into a useful preparation step.
Sources and further reading
- Home Composting: A Guide for Home Gardeners — Penn State Extension
Signs a home compost pile is finished and how finished compost is used in gardens.
- Too much compost and manure — University of Minnesota Extension
Nutrient and salt risks from excess compost and manure.