
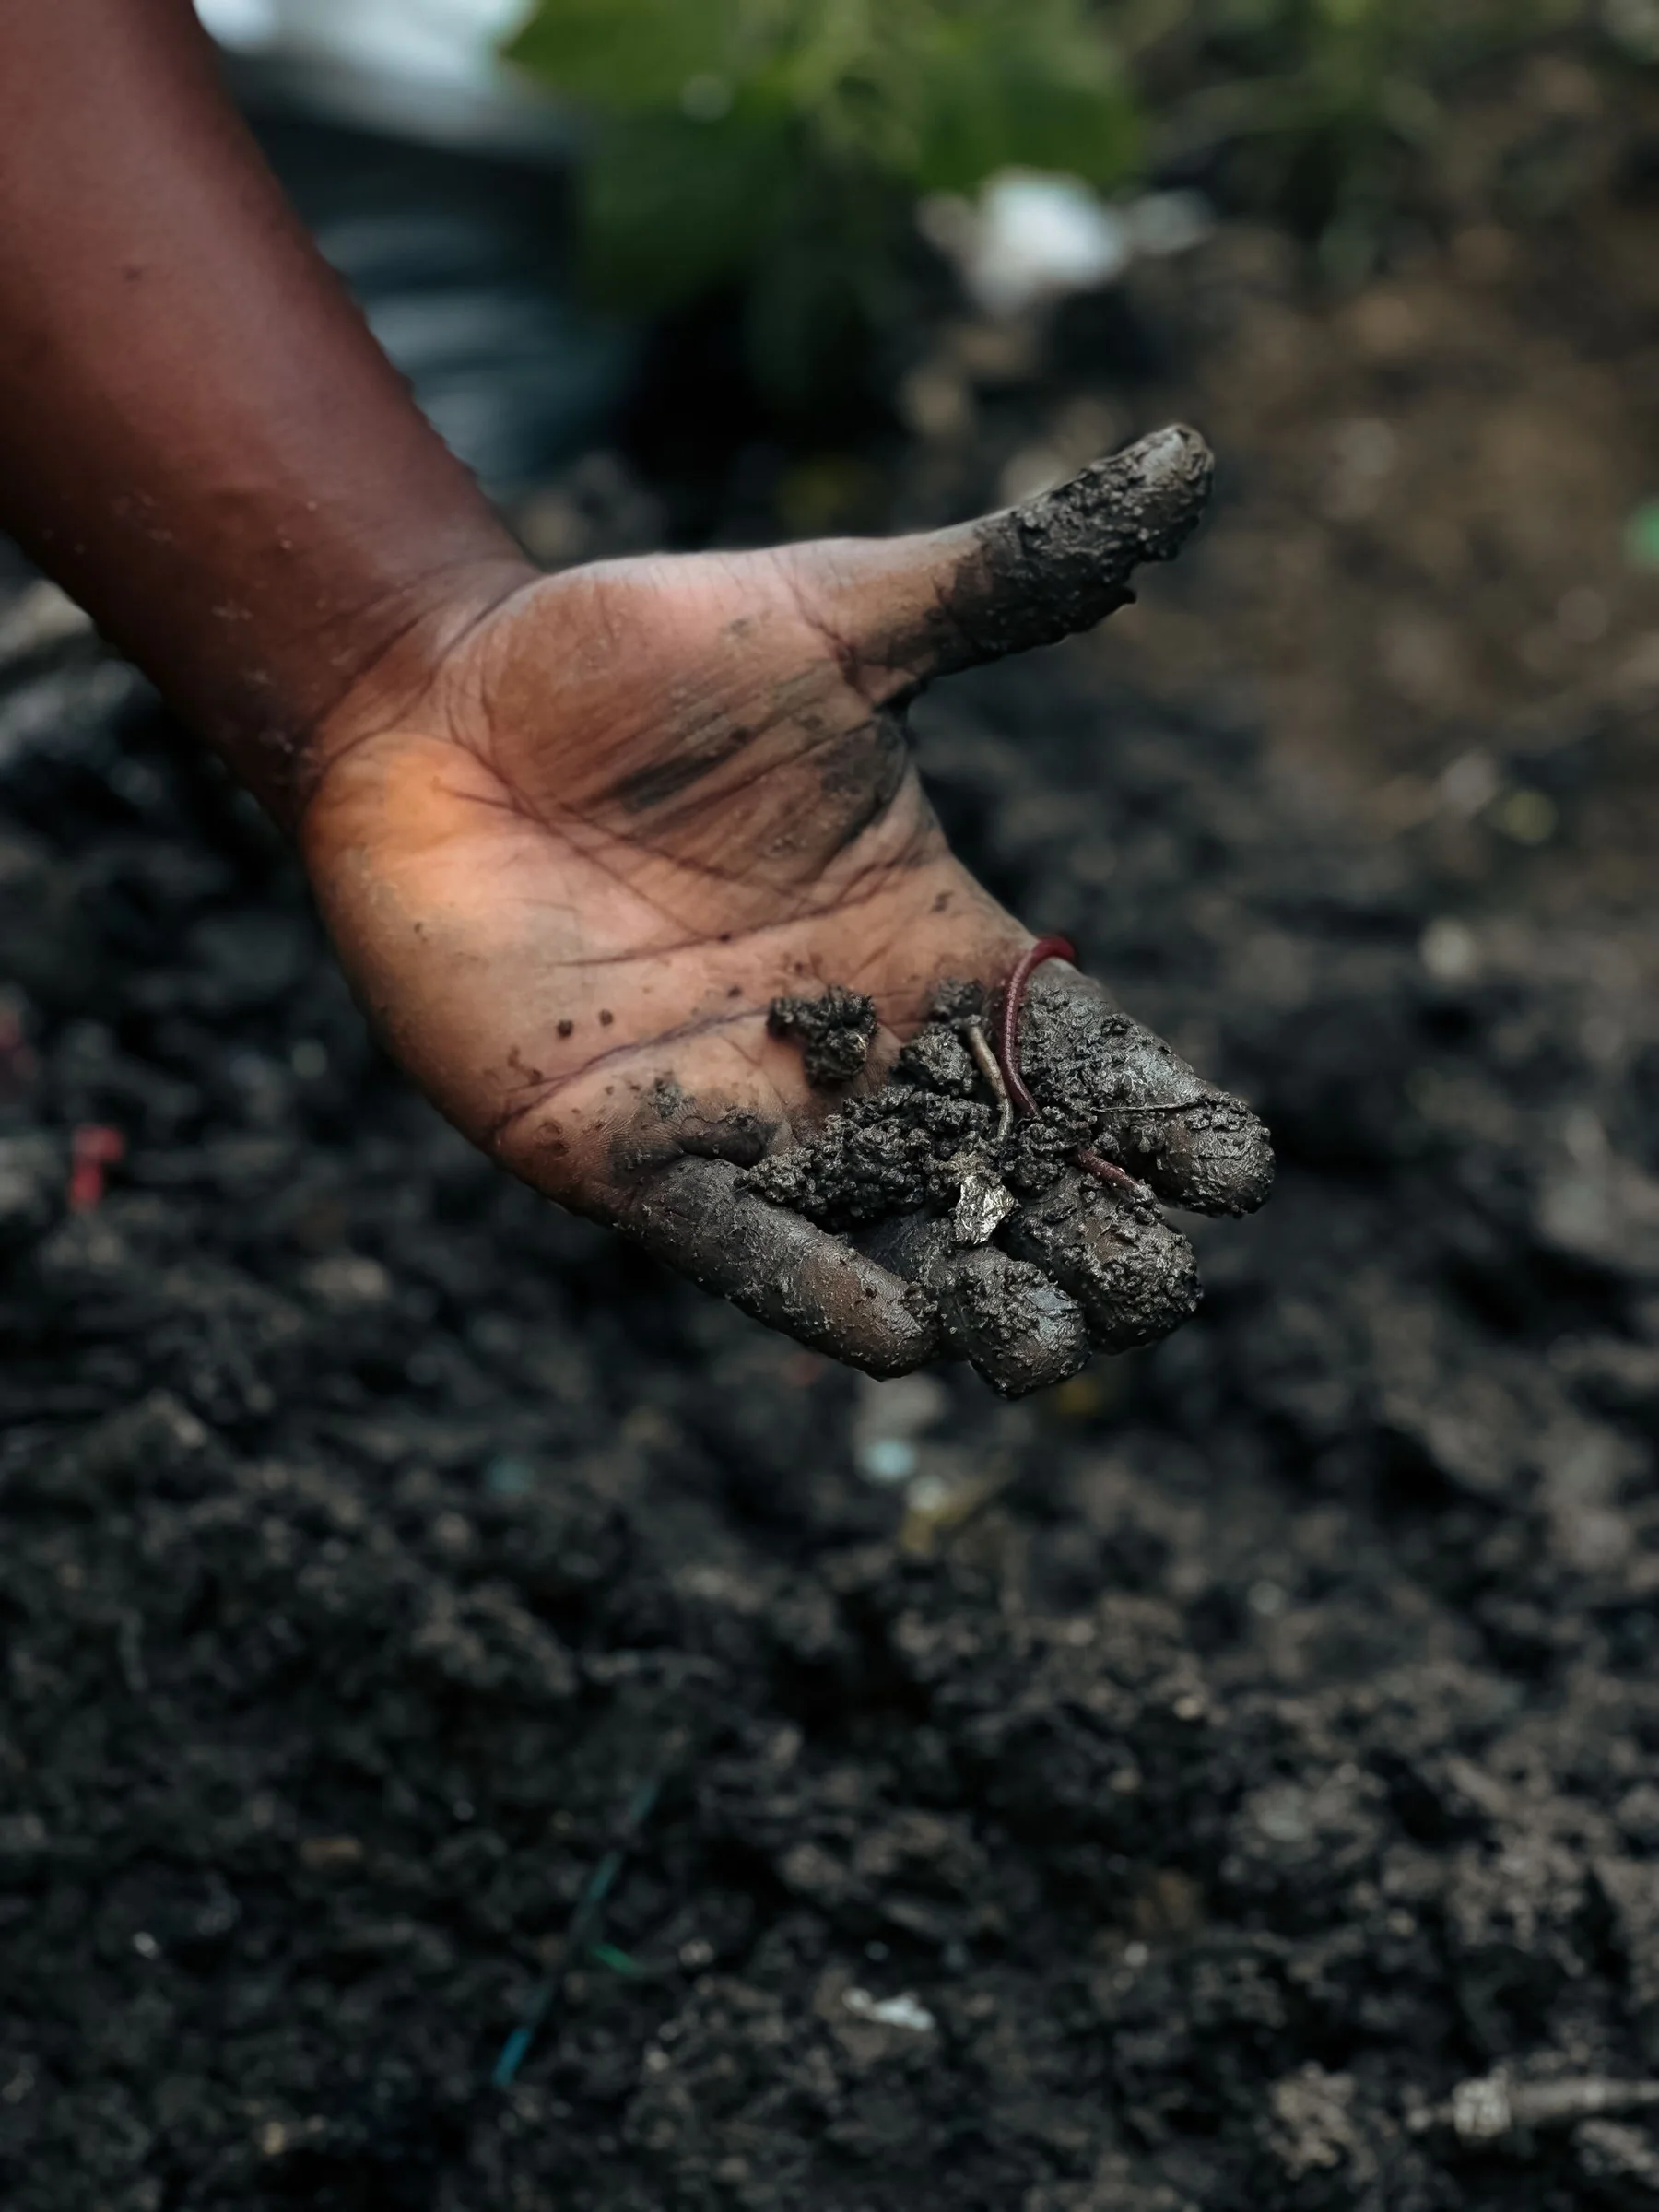
An indoor worm bin usually signals trouble through smell, standing liquid, escaping worms, or scraps that remain unchanged. Those signs do not mean the system is beyond repair. They point to a mismatch among moisture, air, food, bedding, and temperature. Red wigglers are surface-dwelling compost worms, so a shallow, ventilated bin is easier to manage than a deep bucket that traps wet scraps at the bottom.
Check the bin before adding another remedy
Open the lid and look at the bedding first. It should be damp like a wrung-out sponge, not dripping. If a handful releases water, add dry shredded paper or cardboard and fluff the upper layer. If the bedding is dusty and dry, mist it gradually and mix, rather than pouring a bowl of water into one corner. The aim is even moisture with air spaces, not a saturated mud layer.
Smell the bin. A healthy bin should not smell like a sewer or sour garbage. An offensive odor often means food is buried too deeply, the bin is waterlogged, or too much food was added before worms could process it. Remove visible rotten scraps, loosen compacted bedding, and pause feeding while the system recovers. Adding more worms or lime without finding the cause can deepen the imbalance.
Check the container’s shape and drainage. Penn State Extension recommends a shallow opaque tote for red wigglers, with ventilation and drainage holes above a catch tray. A deep, narrow bucket is a poor fit because these composting worms work near the surface. Cover drainage holes with a breathable screen that keeps worms in while allowing excess moisture to escape; collect leachate so it does not damage a floor.
Feed less than you think at first
Begin with small amounts of fruit and vegetable scraps cut into pieces, buried under bedding in one section. Wait until much of that food has softened or disappeared before feeding again. If scraps are still identifiable days later, offer less. Freezing scraps before feeding may help break plant tissue, but it does not excuse overloading the bin. The worms’ capacity depends on population, temperature, food size, and bedding condition.
Avoid meat, dairy, oily foods, and heavily seasoned leftovers. Penn State’s guidance also cautions against citrus peels for red wigglers. Coffee grounds can be included in moderation but may compact or acidify a small bin if they dominate. Add crushed eggshell sparingly if used; do not expect it to correct every pH problem. A worm bin is not a sink for all household food waste.
Use bedding as both habitat and a moisture buffer. Shredded uncoated paper, cardboard, or dry leaves can help, but vary the material and avoid glossy or chemically treated paper. Keep the bedding loose. A dense layer of wet cardboard can exclude air just as easily as a layer of food.
A symptom-to-action guide
- Sour or rotten odor: remove excess food, add dry bedding, open compacted material, and pause feeding.
- Worms climbing out: check heat, moisture, acidity, and recent changes; secure the lid but preserve ventilation.
- Liquid collecting below: reduce water-rich feed, add dry bedding, and keep the bin level with clear drainage.
- Food remaining untouched: reduce portions and cut scraps smaller; confirm worms are not exposed to cold or heat.
- Fruit flies: bury scraps deeply under bedding, freeze or refrigerate scraps before use, and keep the lid fitted.
- Worms clustered at the surface: check oxygen, excess moisture, temperature, and whether a new food source is irritating them.
The bin’s location matters. Keep it out of direct sun, away from heating vents, and in a temperature range suited to the worm species. Penn State’s household guidance describes red wigglers as favoring moderate indoor temperatures; verify the full range in the linked source before placing a bin in an unheated shed. A balcony can swing from hot to cold quickly, even when the air feels comfortable at the moment.
Harvest castings without losing the colony
Wait until most bedding and food have been processed and the material is dark and granular. Do not empty the bin every few weeks just to see whether it is working. Move finished material to one side, add fresh bedding and food to the other side, and give the worms time to migrate. Harvest only the finished portion and return any visible worms or cocoons to the active zone.
Use castings as a modest component of a garden or potting mix, not as a concentrated stand-alone fertilizer. Worm castings vary with feedstock and bin conditions. If seedlings are sensitive or a large volume is intended for containers, trial a small amount first. More castings are not automatically better; compost and organic amendments can contribute salts and nutrients that build up in pots.
Keep a weekly log
Record the date, amount and type of food, bedding added, moisture check, and any odor. This helps identify whether a problem followed a large feeding, a heat wave, or a wet week. Change one condition at a time, wait several days, then observe. If worms are dying rapidly or a contaminant entered the bin, contact local Extension or a vermicomposting specialist rather than applying an unverified chemical fix.
Reset the bin only when the cycle is unrecoverable
This guide covers indoor red-wiggler composting at household scale. Other worm species and commercial systems have different needs. Follow local waste rules, keep leachate contained, wash hands after handling compost, and do not use material from a bin containing chemical or animal-waste contaminants on edible crops without expert advice.
Sources and further reading
- Vermicomposting Puts Worms to Work — Penn State Extension
Red-wiggler bin structure, bedding moisture, food choices, and household management.
- Home Composting: A Guide for Home Gardeners — Penn State Extension
Compost handling and the difference between home composting and finished amendment use.