
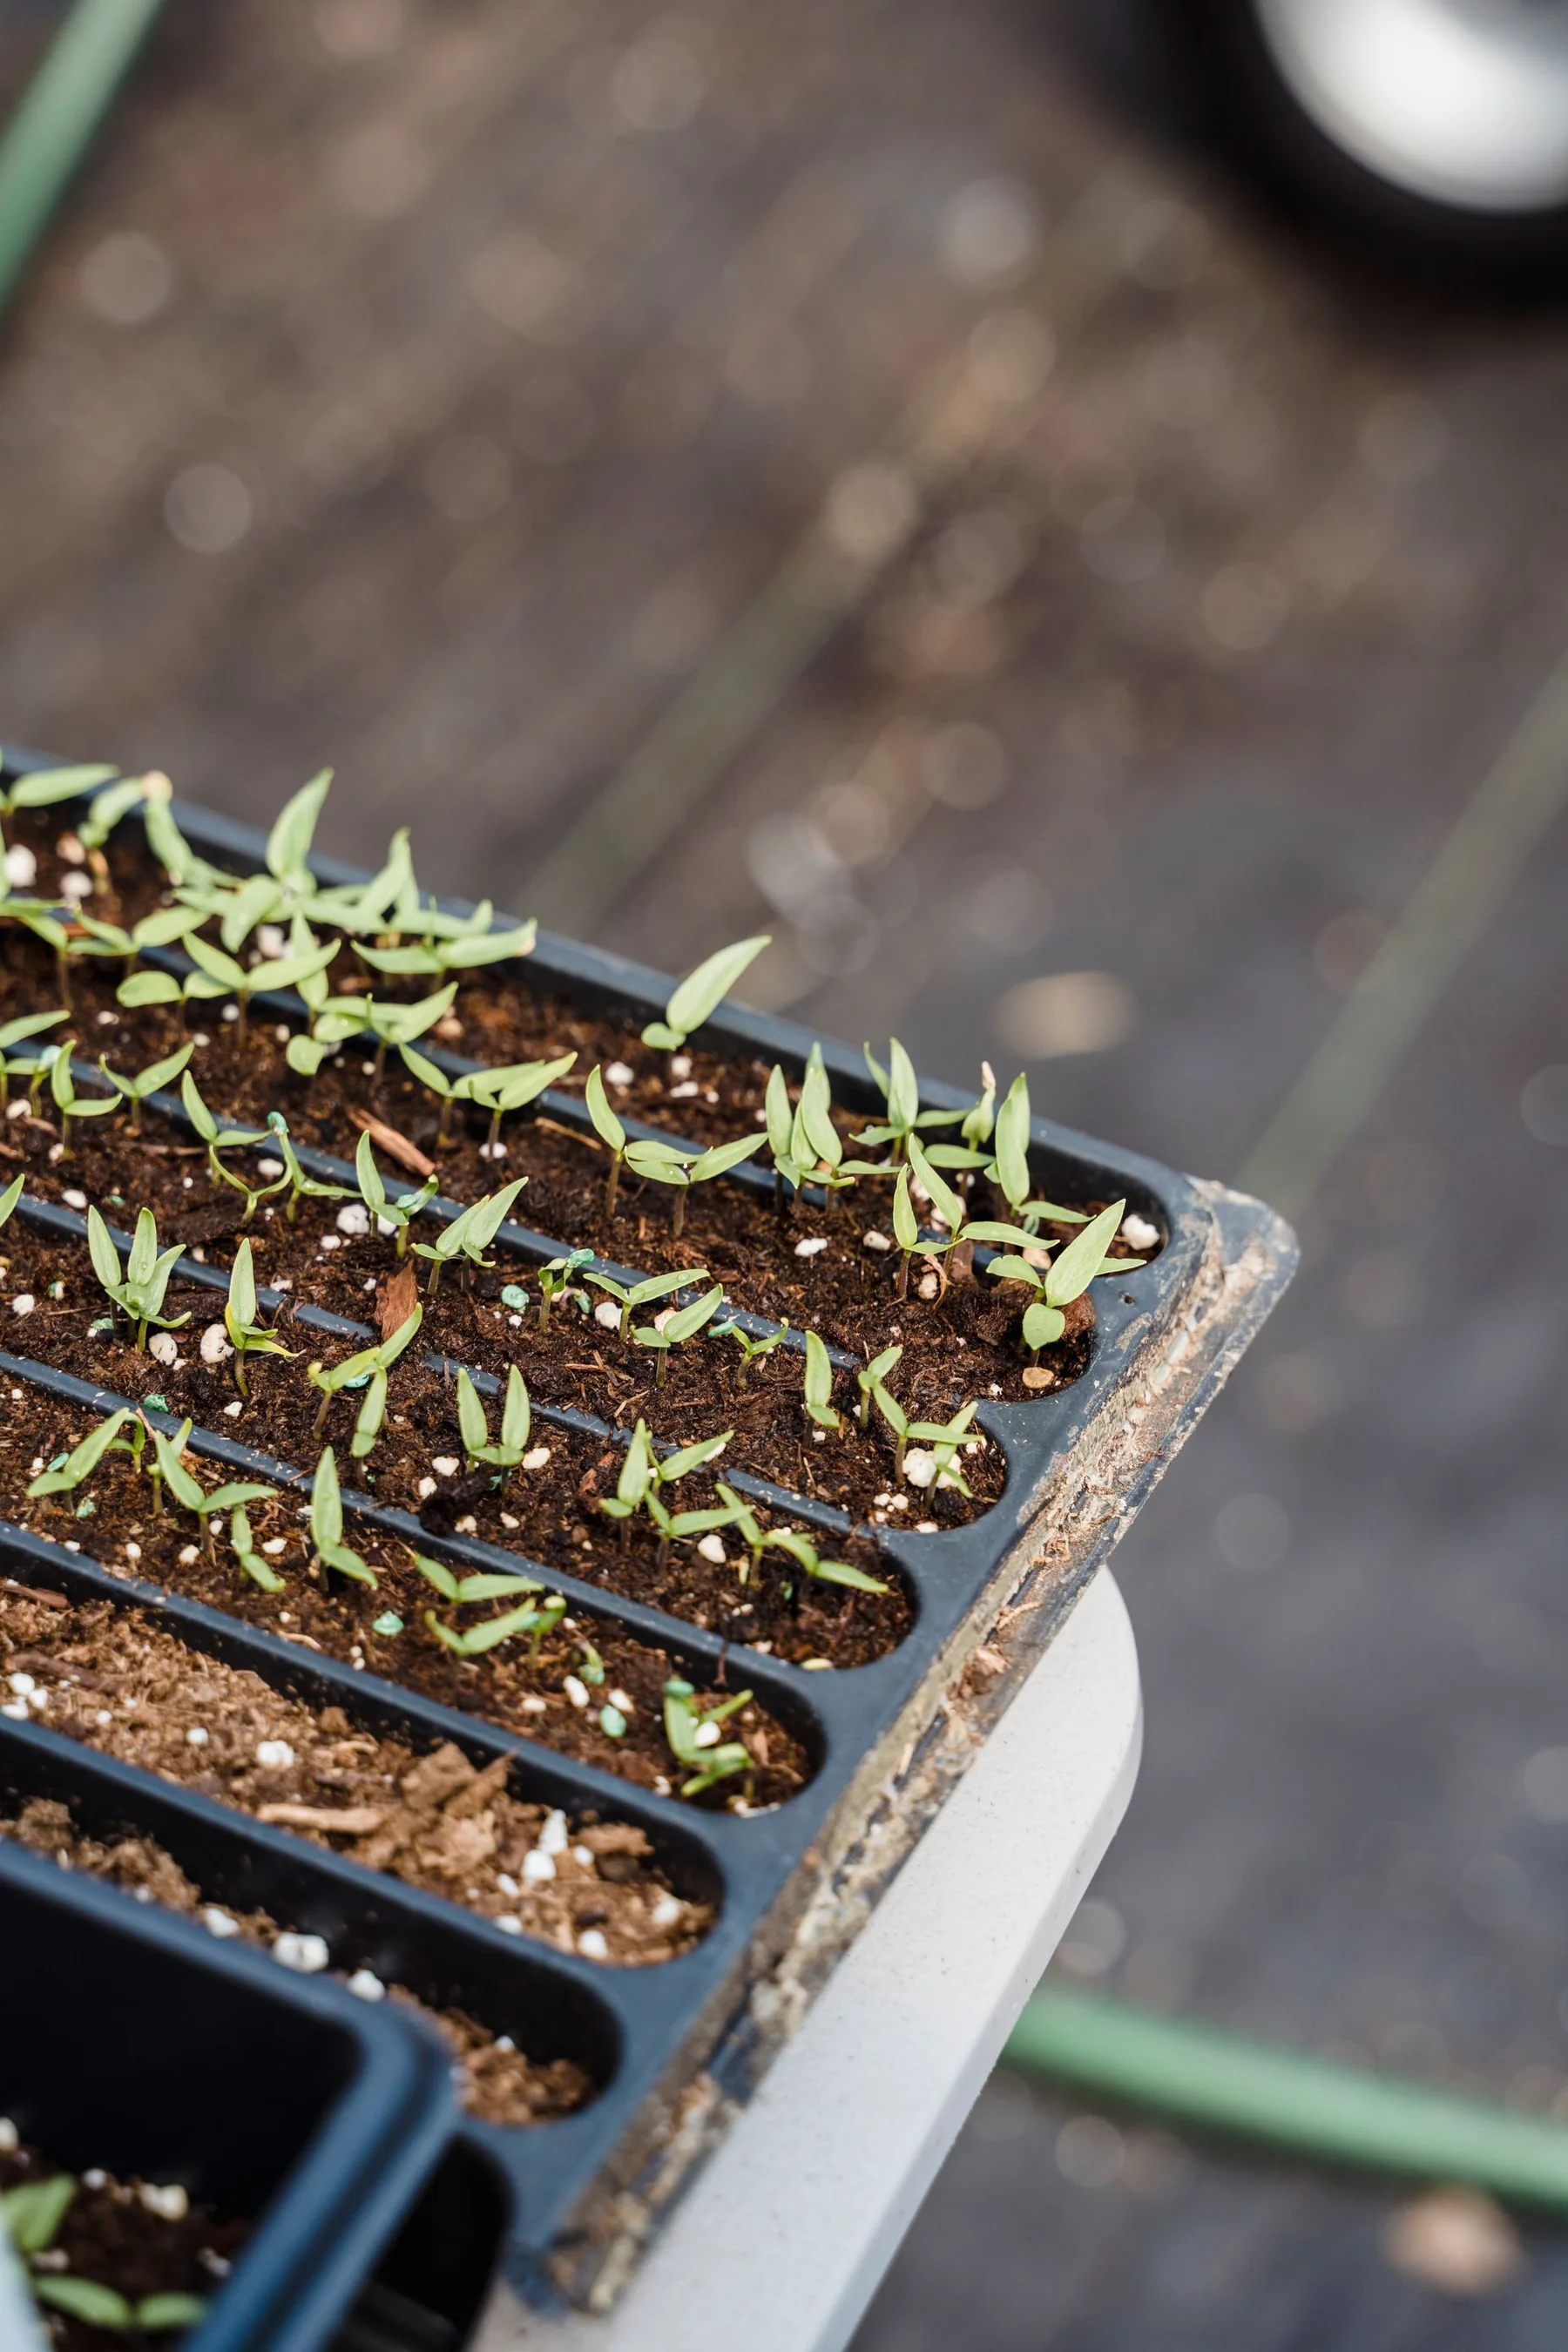
Cover crops are usually discussed as a field or garden-bed practice, but a pot can also grow a temporary crop that protects the surface and adds roots. The small scale changes the tradeoffs: there is little room to mow or incorporate biomass, roots share a limited volume, and a container may need to be replanted before a cover crop finishes. A cover crop in a pot is useful only when its growth and termination fit the next planting.
Define the job before choosing seed
Decide whether the pot needs winter soil cover, living roots, a quick green surface, or simply a pause between crops. One species will not perform every job. A winter-hardy cover crop may keep growing and compete with the spring crop; a frost-killed option may provide surface residue but leave little living cover through winter. Read regional information about the species’ winter hardiness and planting window before buying seed.
Estimate how much time remains before the next crop. A cover crop needs enough warmth, moisture, and daylight to germinate and establish. Sowing too late may produce a thin stand that does not cover the soil. Sowing too early can make a dense canopy that is hard to remove before it sets seed. Use a local Extension calendar and the seed supplier’s growth information; dates for open beds may not translate directly to a cold balcony pot.
Choose a crop compatible with the container. A deep-rooted or vigorous species can occupy the entire pot, while a low mat may fit around a perennial. For a small food container, the cover crop must not deprive the next crop of root space or moisture. If the pot is tiny and the next planting is near, a simple mulch may be easier to manage than a new crop.
Select a species and plan its end point
Common cover crops include cereal grains, legumes, and brassicas, each with different growth patterns and disease or pest concerns. Legumes may associate with nitrogen-fixing bacteria, but that does not guarantee a measurable nitrogen benefit in one small pot. Some cover crops host pests or diseases that affect vegetables in the same family. Choose species with the crop rotation and local disease history in mind.
Before sowing, write down how you will terminate the crop. In a container, options may include cutting stems at the soil line, pulling plants, or leaving frost-killed residue. Tilling a root-bound pot may destroy the structure and expose the container to erosion. If a crop is winter-hardy, set a calendar reminder well before it flowers. Oregon State guidance warns that cover crops should be terminated before seed set; volunteer plants can become a maintenance problem in a small garden.
Do not assume that the whole plant should be turned into the pot. Fresh green material can decompose unevenly and temporarily alter nutrient availability. If you cut it, use the residue as a thin surface layer or compost it separately according to local guidance. Leave enough time for the next seedlings to establish without being shaded or crowded.
A container cover-crop plan
- Name the purpose: winter cover, surface protection, roots, or a short pause.
- Check the window: use local soil and frost guidance to confirm the crop can establish.
- Match the pot: confirm depth, drainage, and the next crop’s root space.
- Sow evenly: follow the packet rate and keep the surface moist until germination.
- Watch the canopy: thin or cut before the cover crop shades the pot or forms seed.
- Record the transition: note termination date, residue, and the next crop’s response.
For a cold-winter container, freezing can penetrate the root zone more quickly than it would in the ground. A crop that is winter-hardy in a bed may not survive in an exposed pot. Insulate the container or choose a frost-killed option only after checking what that means for the soil-cover goal. If the pot’s main purpose is to protect the medium, move it to a sheltered position or use a clean mulch rather than relying on a seedling that may not make it through a severe freeze.
Check for competition and pests
Observe whether the cover crop is using water needed by a nearby perennial or whether seedlings are crowded. A pot dries in a different pattern when covered by foliage, so check below the surface. If leaves show disease, remove affected material and seek a crop-specific diagnosis. A cover crop is still a host plant; it should not be allowed to conceal a pest that will move into the next vegetable.
Avoid seed mixes with unknown species or filler seed. Read the label for contents and treatment, and do not sow an invasive or prohibited plant just because it is marketed as a cover crop. In a community garden, tell the coordinator what you planted and how it will be removed. Unmanaged seed can spread beyond the container and create work for others.
Decide whether the experiment earned its space
Compare the covered pot with an uncovered or mulched pot if you have room. Note surface moisture, weeds, soil movement, and how quickly the next crop established. Do not claim a nitrogen benefit from green color alone. In one small container, a cover crop may be valuable for keeping roots in the mix or sheltering the surface even if it yields no measurable fertility change.
Judge the trial by the winter space it used
Cover crop timing and termination are regional and species-specific. The OSU source below discusses home-garden cover crops in a Pacific Northwest setting; its calendar should not be copied directly into another climate. Use local seed labels and Extension guidance, and do not let any crop set unwanted seed in a shared container garden.
Sources and further reading
- Tips for Planting Cover Crops in Home Gardens — Penn State Extension
Home-garden cover-crop purpose, timing, management, and preventing unwanted seed set.
- Cover crops improve soil, support pollinators over winter — Oregon State University Extension
Winter cover-crop and pollinator considerations in Oregon; timing is region-specific.