
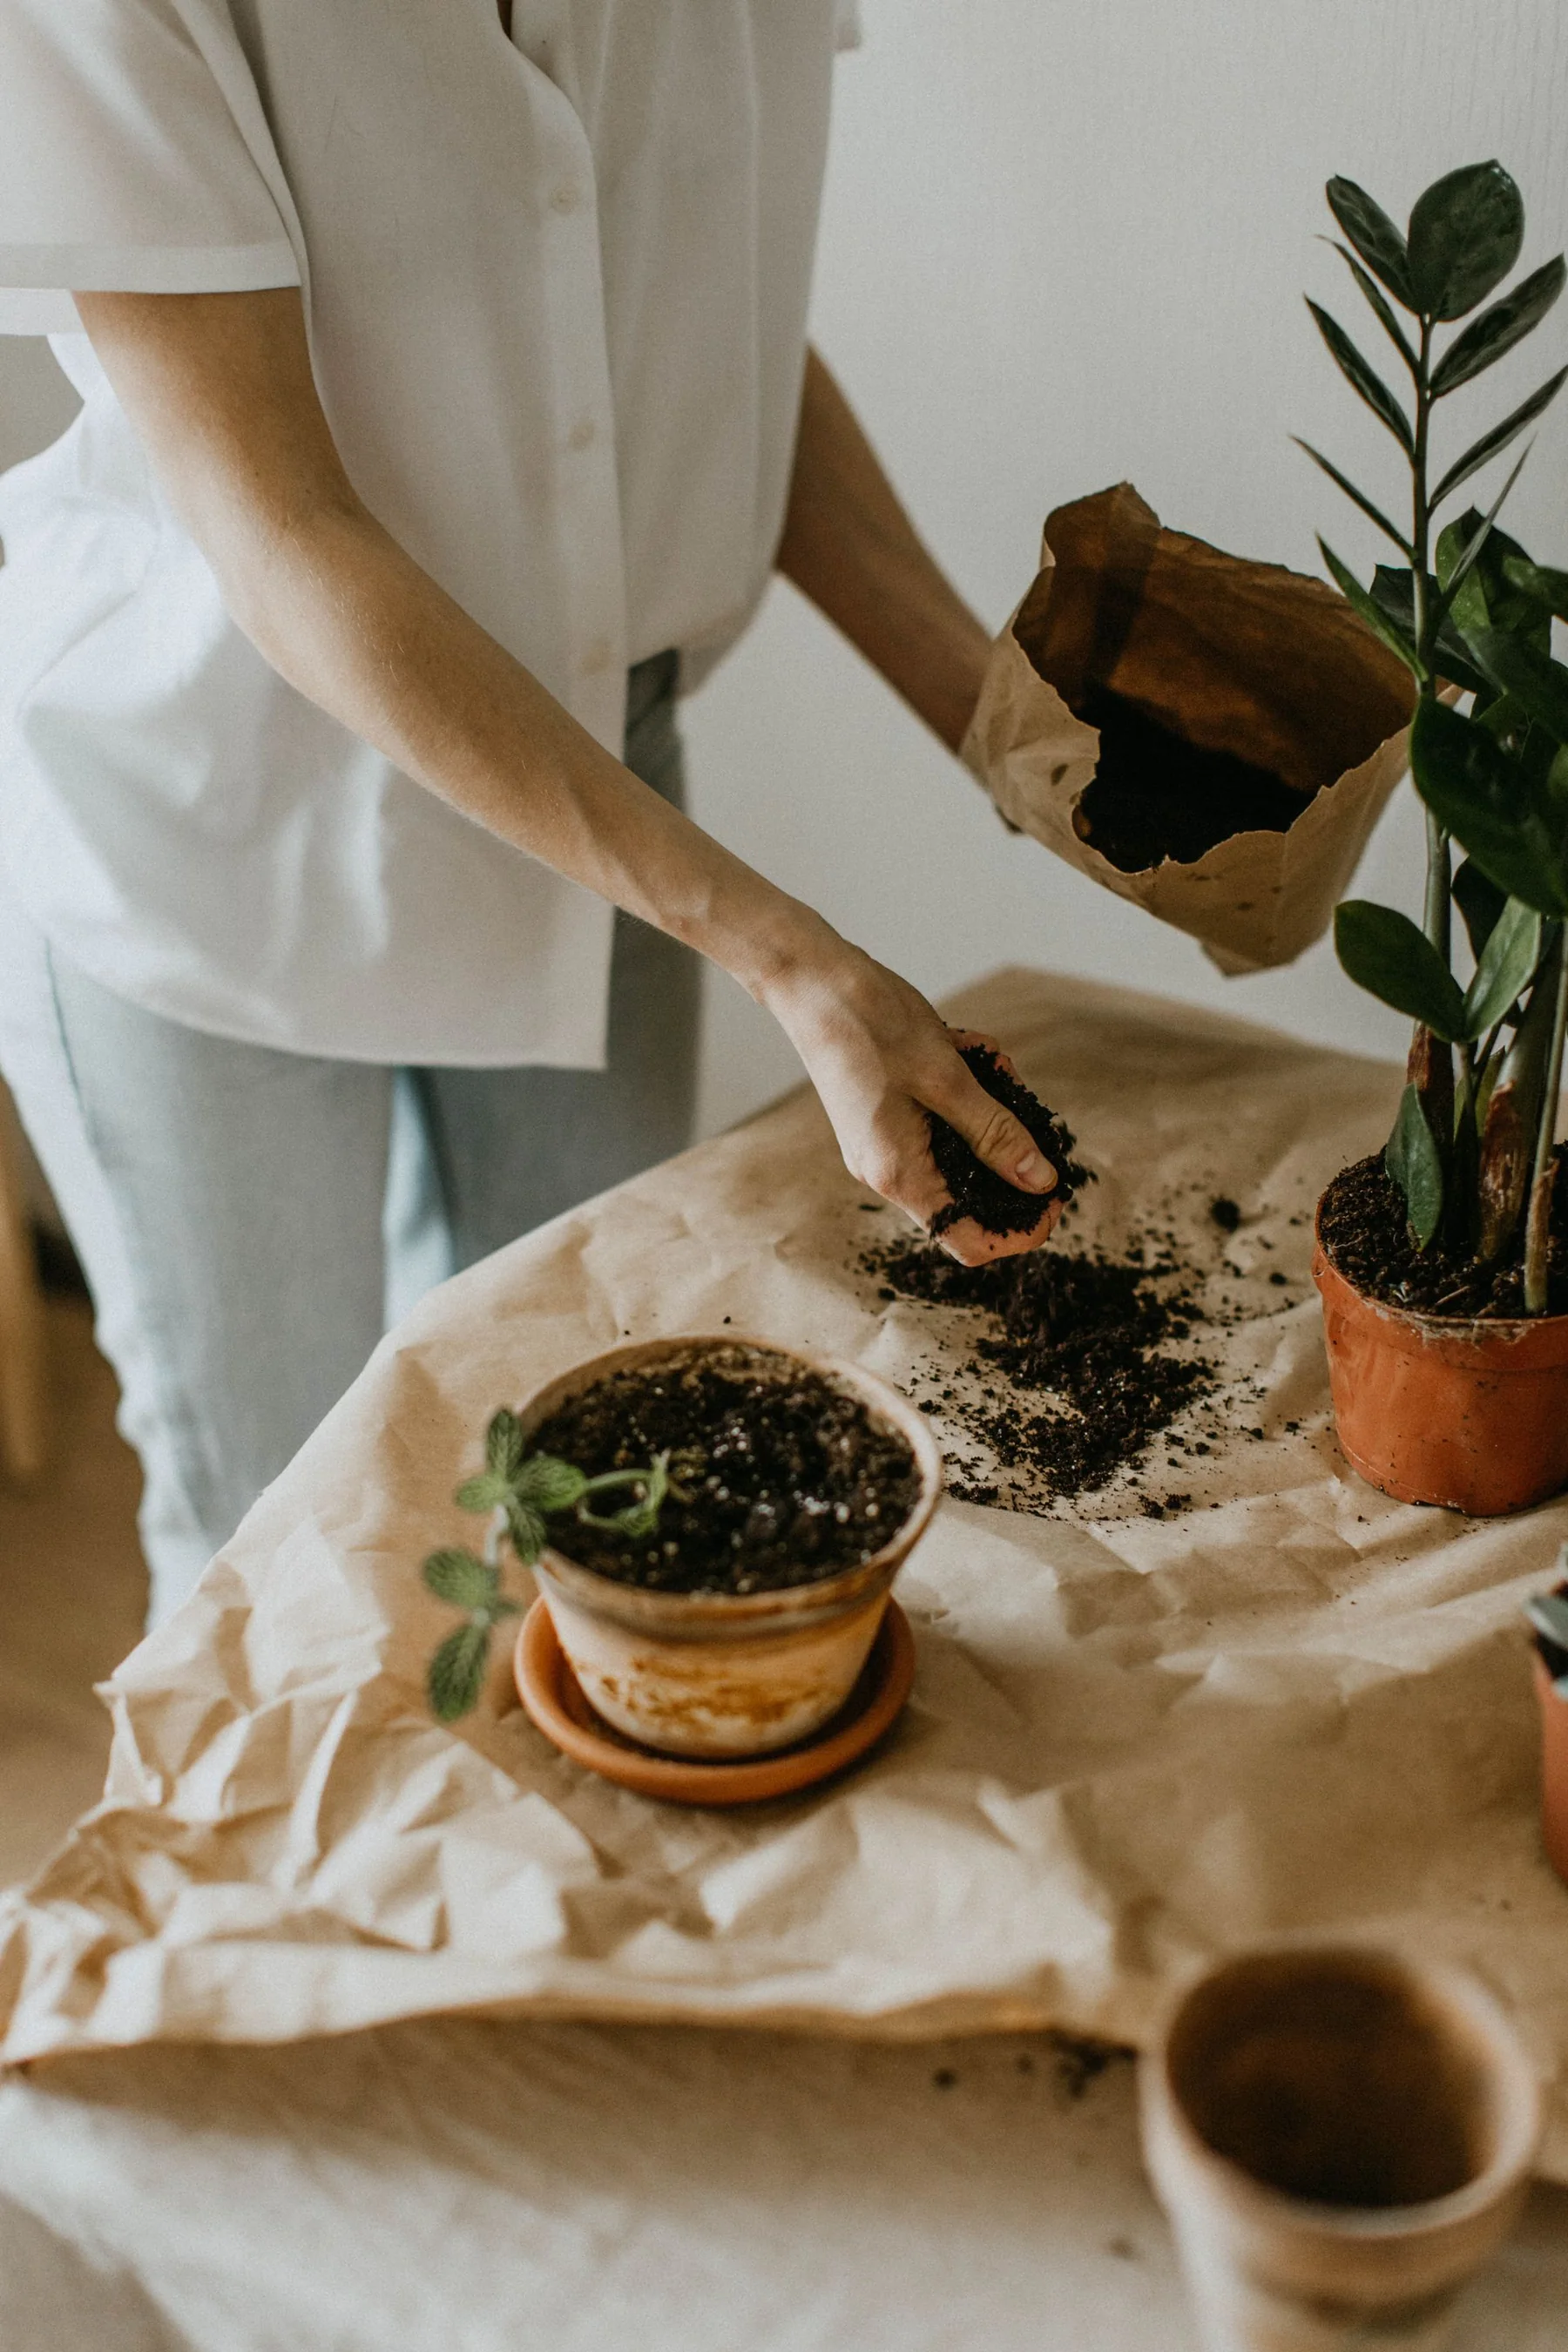
Putting gravel, broken pots, or stones at the bottom of a flowerpot is a familiar tip, but it does not make water move through the potting mix more freely. A coarse layer can leave a saturated zone higher in the container and reduce the depth available to roots. For most ordinary containers, the useful fix is a clear drainage hole, an appropriate mix, and a saucer that is emptied after watering.
Why a coarse layer can hold water above it
Water moves through the smaller pores in a fine potting mix and then meets the larger spaces between stones. At that boundary, water may remain in the fine layer until it is saturated enough to pass into the coarse material. The result can be a wetter zone above the gravel than if the same mix filled the entire pot. The layer also takes up root space, which matters in a shallow container.
Penn State Extension describes the pebble layer as a drainage myth for houseplants and recommends a container with a drainage hole instead. This applies to ordinary pots with a porous growing medium; purpose-built systems such as a rain planter or a designed self-watering reservoir may have a separate drainage architecture. Do not use a general potting tip to alter a manufacturer’s specified system.
The common symptom is water lingering in the pot or a plant wilting despite wet soil. Adding more stones may worsen the root-zone conditions. Check for blocked holes, a compacted mix, oversized pot, or water collecting in a cachepot. Roots need both water and air; constant saturation limits oxygen and can contribute to root disease.
Fix the actual drainage path
Use a container with open holes sized for the pot and medium. If the holes are blocked by roots or debris, clear them carefully. Covering a large hole with mesh can keep mix from washing out while allowing water to escape; do not seal it with a flat shard that blocks flow. Set the pot on feet or a grate if it sits flush against a surface and the outlet cannot drain.
For a decorative pot without holes, use it as an outer cachepot and place a nursery pot with drainage inside. After watering, remove the inner pot to drain or empty the outer vessel. Do not plant directly into a sealed cachepot for ordinary houseplants unless the design is a specific closed terrarium or a controlled self-watering system. Those systems have different moisture management and plant choices.
Select a medium suited to the crop and container. Dense garden soil is often a poor choice for a pot because it can compact and retain too much water. A soilless container mix contains components designed to hold moisture while preserving air spaces. If an old mix has broken down into fine particles, replacing part of it may help more than adding a coarse bottom layer.
If water beads on a very dry mix or runs down the gap at the pot wall, wet the surface in two slow passes and watch whether the center becomes moist. A dry, shrunken mix may need gradual rewetting before drainage can be judged. Record what happens after the mix is evenly damp; do not diagnose a blocked hole from one rushed pour.
A quick pot-drainage check
- Hole: confirm the container has an open drainage outlet.
- Surface: look for a crust or compacted mix that blocks water from entering.
- Saturation: after watering, see whether water drains out within the expected time for that crop and mix.
- Cachepot: empty standing water and lift the inner pot to confirm the base is not submerged.
- Roots: check for a sour odor, soft roots, or a root-bound mass that fills the container.
- Mix: replace degraded or unsuitable medium; do not bury a gravel layer as a substitute.
Handle excess water safely
Water until the root zone is moistened and excess can leave the pot, then allow it to drain. Use a saucer or tray to protect floors, but empty it after watering. On a balcony, direct runoff so it does not fall onto neighbors or a public path. If a container is too heavy to lift, use a tray that can be drained safely or a pot with an accessible outlet.
Do not drill a hole in a ceramic or glass pot without the right tool and safety method. A cracked container can cut hands or fail under wet soil weight. Use an inner nursery pot or replace the vessel. On a balcony, a heavy container with collected water can exceed a safe load even when its soil surface looks dry.
Test a new setup before repotting everything
Move one plant into a correctly drained pot with a fresh, appropriate mix. Keep its water, light, and temperature similar to the original for several weeks. Check new root growth and leaf condition before changing fertilizer. If the plant improves, the former drainage setup may have contributed; if not, investigate other factors. A small comparison avoids repeating an internet tip across an entire plant collection.
Limits
This guide applies to standard pots and ordinary container mix. Terrariums, hydroponics, rain planters, and self-watering systems require their own designs. Follow the manufacturer’s instructions and crop-specific Extension advice. Drainage holes do not guarantee healthy roots if the mix, watering, or container size is unsuitable.
Sources and further reading
- To Buy or Not to Buy: The Gear Your Houseplants Really Need — Penn State Extension
Why a pebble layer does not improve drainage in a standard pot and can retain moisture.
- Container Vegetable Gardening: Four Keys to Success — Penn State Extension
Drainage holes, soilless mix, container dimensions, and root-zone air.