
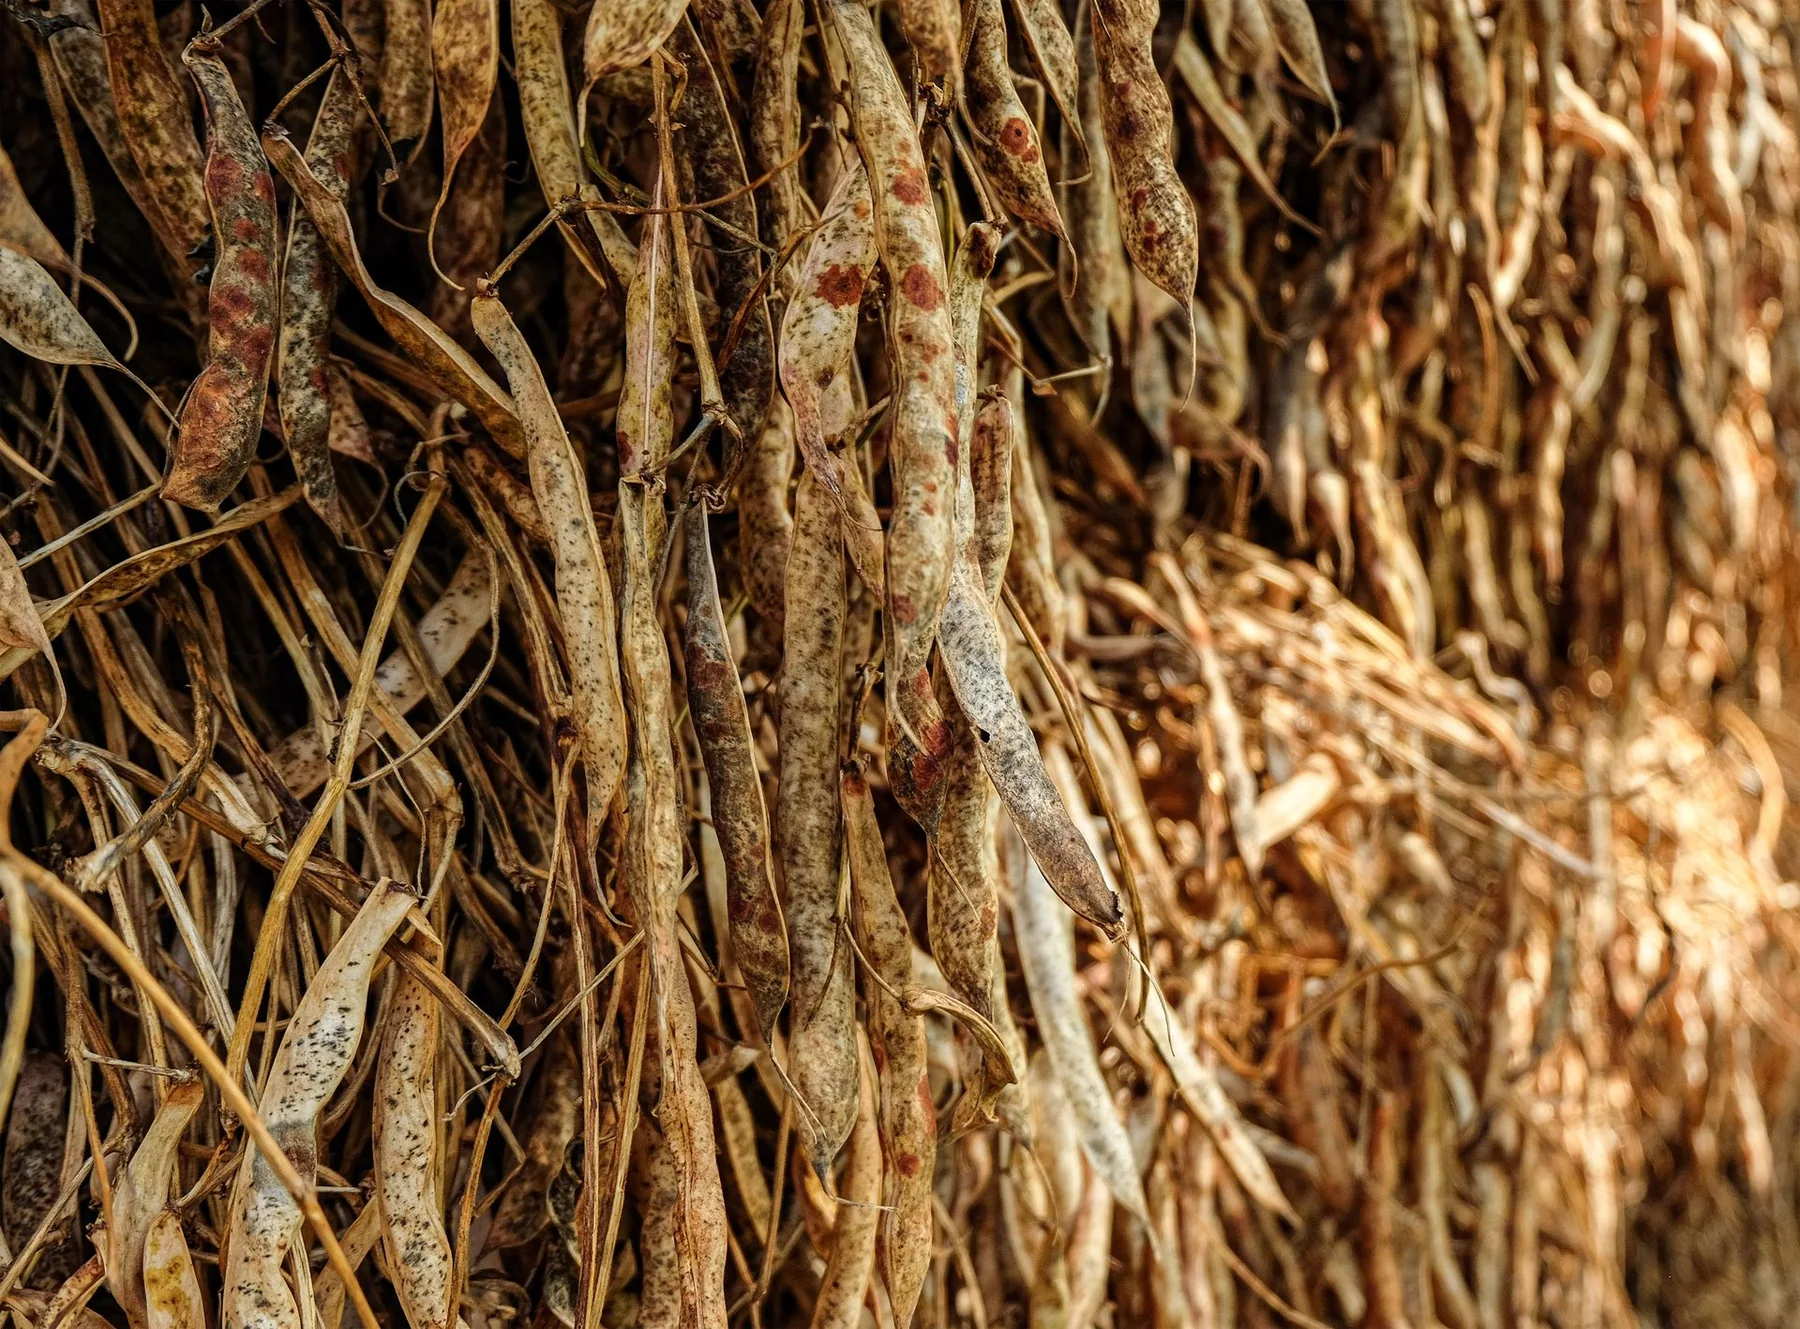
Dry bean storage begins in the garden, not on the pantry shelf. A bean seed that is still moist when sealed can mold or lose vigor, while a mature dry pod left through repeated rain can split and scatter its seed. A small grower needs to decide which plants are for eating and which are for seed, then allow the seed pods to reach maturity without confusing a food harvest date with a seed harvest date.
Choose the parent plants before pods dry
Save seed from an open-pollinated variety when you want plants broadly similar to the parent. Seed from an F1 hybrid may segregate into different traits. Choose healthy plants that match the variety description and avoid those with unexplained disease, weak growth, or off-type pods. If the garden contains more than one compatible bean type, consider crossing risk and record nearby varieties even though many beans self-pollinate.
Mark selected plants early with a durable tag. If all pods are harvested for dinner, the seed crop disappears. Keep enough pods to represent several healthy plants, especially if the goal is to maintain a variety rather than produce a small household packet. A single plant can provide seed, but it represents a narrow sample of the variety and may not preserve its full diversity.
Allow the pods to remain on the plant until they are dry and the seeds rattle. This can take several weeks after the usual green-bean harvest stage. Watch for rain, frost, and pod shattering. If the weather turns persistently wet, pull or cut selected plants when pods are mature enough and finish drying them in a warm, airy indoor location. Keep each variety separate and label before moving it.
Finish drying without heat damage
Spread pods in a single layer or hang small plants upside down in a dry room with good airflow. Avoid direct sun, closed damp sheds, and ovens. Turn pods occasionally so hidden moisture is not trapped against a surface. If pods were brought inside early, allow them to dry until their shells are brittle and the seeds are firm; do not shell them while they still feel soft.
Shell over a clean tray. Remove shriveled, cracked, moldy, or insect-damaged seeds. Keep the lot identifiable during shelling; a tray with several varieties at once invites accidental mixing. A small batch can be processed by hand, while a larger batch may be threshed in a bag, but avoid crushing seed coats. Inspect the work surface before switching varieties and clean it between lots.
Use a simple dryness check. Properly dried bean seed should be hard and should not dent with a fingernail; Penn State Extension describes this as a practical seed-drying check. If a seed still feels cool or soft, spread the whole lot out again. Do not rely on one test seed from a pile that has unevenly dried. Moisture content is not visible from color alone.
Package seed for a cool, stable place
- Finish drying: keep shelled seed in a shallow layer until the lot passes the hardness check.
- Label first: write bean type, variety, source, parent count, and harvest year on the envelope.
- Use an inner packet: paper envelopes keep varieties separated and make small quantities easy to handle.
- Protect from moisture: place packets inside a sealed container after the seed is fully dry.
- Choose stable storage: keep the container cool, dry, and dark; avoid a warm kitchen shelf or damp garage.
- Track changes: add the storage location and any later germination-test result to the record.
If using a refrigerator, seal the dry packets inside an airtight container and allow that container to return to room temperature before opening. Opening cold seed in humid air can cause condensation. Keep the storage container away from produce or moisture sources. A refrigerator is not automatically better if it is opened often or if packets are put away damp.
Watch for storage pests and weak germination
Inspect the lot for holes, frass, or webbing before storage and again before sowing. Do not store visibly infested seed beside clean seed. If a pest appears, isolate the packet and consult a local Extension or seed-storage reference before attempting treatment. Freezing or heating can affect seed viability; use a crop-specific method rather than guessing at a temperature and duration.
Seed longevity varies by species and storage conditions, so avoid printing an arbitrary expiration date. Instead, record the harvest year and test an older lot before relying on it. A paper germination test uses a fixed sample and count; the result helps adjust sowing quantity but cannot guarantee field emergence. Keep the lot separate from fresh seed so an old batch does not lower the apparent performance of a new one.
Keep seed and food records distinct
Dry beans saved for planting should be labeled as seed and stored separately from food beans, especially if any seed treatment is used. Do not eat treated seed. If seed is untreated and the same variety is also eaten, use separate containers and utensils to prevent confusion. A household label should be unmistakable to visitors and children.
Recheck moisture before sealing a seed lot
This guide addresses dry beans harvested for planting at home scale. Bean species, variety, pest pressure, and storage humidity change the method. Disease and seed treatment rules are crop-specific. For commercial distribution or a known bean disease, consult local Extension or seed-certification guidance before sharing the lot.
Sources and further reading
- Seed Saving Basics — Penn State Extension
Dry-pod maturity, seed dryness checks, labeling, and storage.
- Saving vegetable seeds — University of Minnesota Extension
Bean maturity, drying, seed storage, and the value of harvest dates.