
Tomato seed saving looks simple until a jar of pulp begins to foam on a kitchen counter. Fermentation is a controlled way to loosen the gelatinous coating around wet tomato seed, but it is easy to overstate what that process accomplishes. It can help separate seed and may reduce some seed-borne pathogens; it does not certify a lot as disease-free. Start with healthy plants, keep the batch traceable, and use a time and temperature window instead of waiting for an undefined amount of foam.
Choose fruit and plants for seed, not just for lunch
Seed saving starts before a tomato is cut. Confirm that the variety is open-pollinated if you want offspring similar to the parent; seed from an F1 hybrid may produce a different mix of traits. Select fruit from vigorous, healthy plants with the flavor and growth habit you want to preserve. Do not save seed from a plant with unexplained wilt, leaf spots, or fruit rot simply because its tomato was attractive.
Tomatoes are largely self-pollinating, so they are among the more manageable crops for home seed savers. A small chance of crossing with another variety remains, especially where pollinators move between flowers. If maintaining a named variety matters, grow only one variety of that species, use a practical isolation plan, or protect selected flowers before they open. A label on a jar cannot repair a cross that already occurred in the garden.
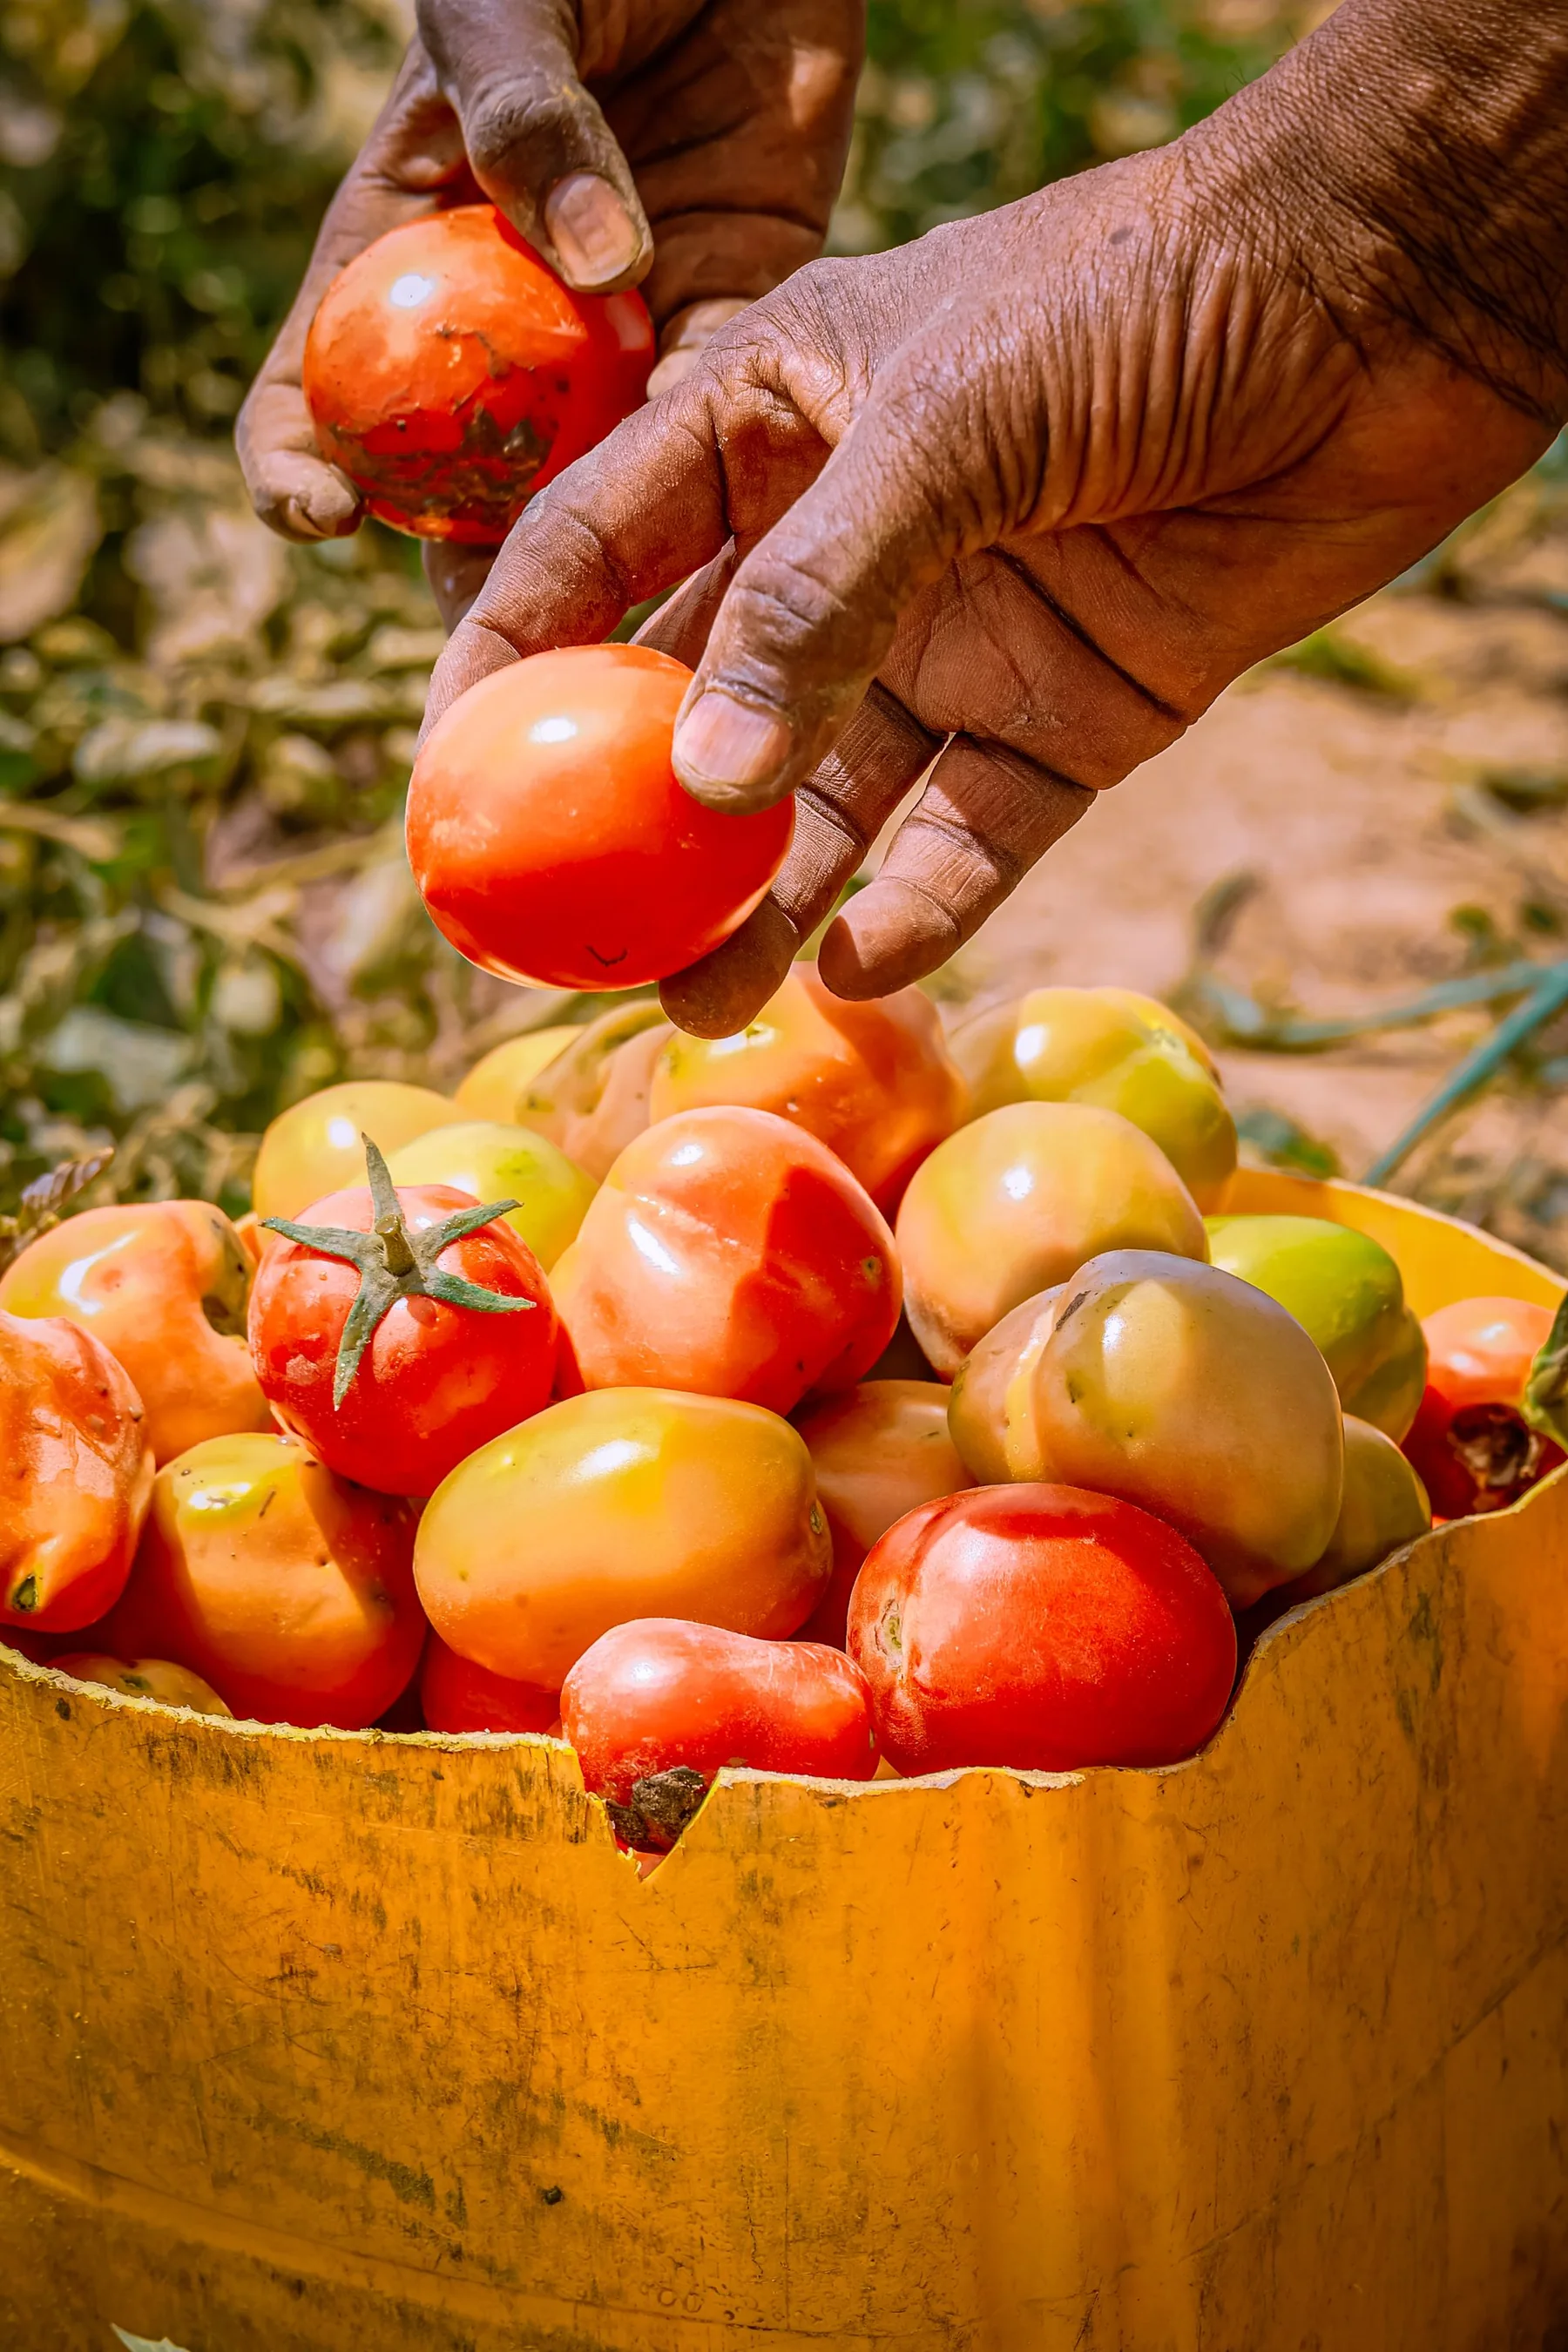
Choose fully ripe, sound fruit. Penn State’s September 2026 seed-saving guide describes harvesting ripe fruit, squeezing the seed and gel into a jar with water, and fermenting for two to three days at room temperature with occasional agitation. Oregon State gives a similar roughly 72-hour reference around 72–80°F. Those are practical Extension references, not a guarantee for every room or cultivar.
Set a short, observable fermentation window
Use a clean, nonreactive jar and process one cultivar at a time. Add enough water to loosen the pulp without diluting the batch beyond recognition. Cover the jar loosely or use a breathable cover that keeps insects out; do not seal an actively fermenting jar tightly. Mark the start date, variety, and room conditions so a delayed batch cannot be mistaken for a new one.
Keep the jar at ordinary room temperature within the cited range when possible. Check it at least once a day and stir or swirl gently. A surface film or light bubbling can appear, but foam is not the goal and no single visual cue proves that fermentation is complete. If the room is very hot, cool, or fluctuates sharply, use the time and temperature guidance conservatively and do not leave the seed unattended for an extra day simply because a thick layer has not formed.
At about 72 hours, inspect the seed. Viable-looking seed often settles while pulp and lighter material float, but float behavior is only a rough sorting cue; it is not a laboratory test of germination. Pour off the liquid and floating debris carefully, refill with clean water, swirl, and repeat until the seed is separated from most gel and pulp. Rinse through a fine sieve so small seeds are not lost down the sink.
A measured workflow for one variety
- Label the jar before adding fruit: cultivar, plant source, harvest date, and fermentation start time.
- Squeeze the gel and seed from ripe fruit into the jar; add water and keep the cover loose.
- Hold near the cited room-temperature range and agitate gently once or twice daily.
- At roughly two to three days, pour off loosened pulp, rinse, and inspect the seed.
- Spread the clean seed in one layer on a labeled screen, plate, or coffee filter in a dry, shaded place.
- Let it dry completely before sealing; store only when seeds no longer feel tacky and can be separated individually.
Do not combine lots to save space. If two plants of the same variety were grown in different beds, keep them separate until you have decided whether to bulk them. If the label is lost or the batch sat too long in a warm room, record that uncertainty instead of presenting the seed as a verified lot.
Dry slowly and protect the record
Spread rinsed seed in a thin layer with enough airflow to prevent clumps. Stir or move the seeds occasionally, and keep the tray away from direct sun, ovens, radiators, and humid rooms. Paper towels can trap seeds as they dry; a coffee filter, glazed plate, or fine screen is easier to clear. Drying time depends on air movement and humidity, so a fixed number of hours is not a reliable finish line.
When dry, rub a few seeds between your fingers. They should not stick together or feel cool and damp. Penn State offers a practical dryness check for seeds: a dry seed should not be dented by a fingernail. Avoid heating seed in an oven or dehydrator. Place the lot in a paper envelope inside an airtight container with a clear label; cool, dry, dark storage helps preserve viability. Storage life depends on species and conditions, so test old seed before allocating a tray.
What fermentation can and cannot tell you
The gel can inhibit immediate sprouting inside a fruit and is removed during processing. Fermentation may reduce some seed-borne disease organisms, but it does not eliminate every pathogen and should not be described as sterilization. If disease risk is important, use a crop-specific treatment from a trusted Extension source; some heat or chemical treatments can lower germination when misapplied. Keep questionable seed separate and do not share it as disease-free.
Record the next season’s germination result alongside the source plant. A simple test with a known number of seeds can distinguish a low-vigor lot from a storage problem. It also helps you improve one step at a time—fruit selection, fermentation temperature, rinsing, drying, or storage—rather than changing every part of the method after a weak emergence.
Discard a lot with an uncertain fermentation history
This guide applies to home-scale tomato seed from healthy, open-pollinated plants. The cited time and temperature ranges come from Penn State and Oregon State Extension; room temperature, cultivar, and local disease concerns vary. Do not taste or consume fermentation liquid, keep the work area away from food preparation, wash equipment, and follow local guidance for a known plant pathogen. For uncertain symptoms, ask a diagnostic clinic before saving or distributing seed.
Sources and further reading
- Seed Saving Basics — Penn State Extension
Ripe tomato selection, two-to-three-day room-temperature fermentation, rinsing, drying, and storage.
- A Step-by-step Guide to Saving Seeds — Oregon State University Extension
Seed-saving methods and crop-specific limits; fermentation is not a universal disease guarantee.