
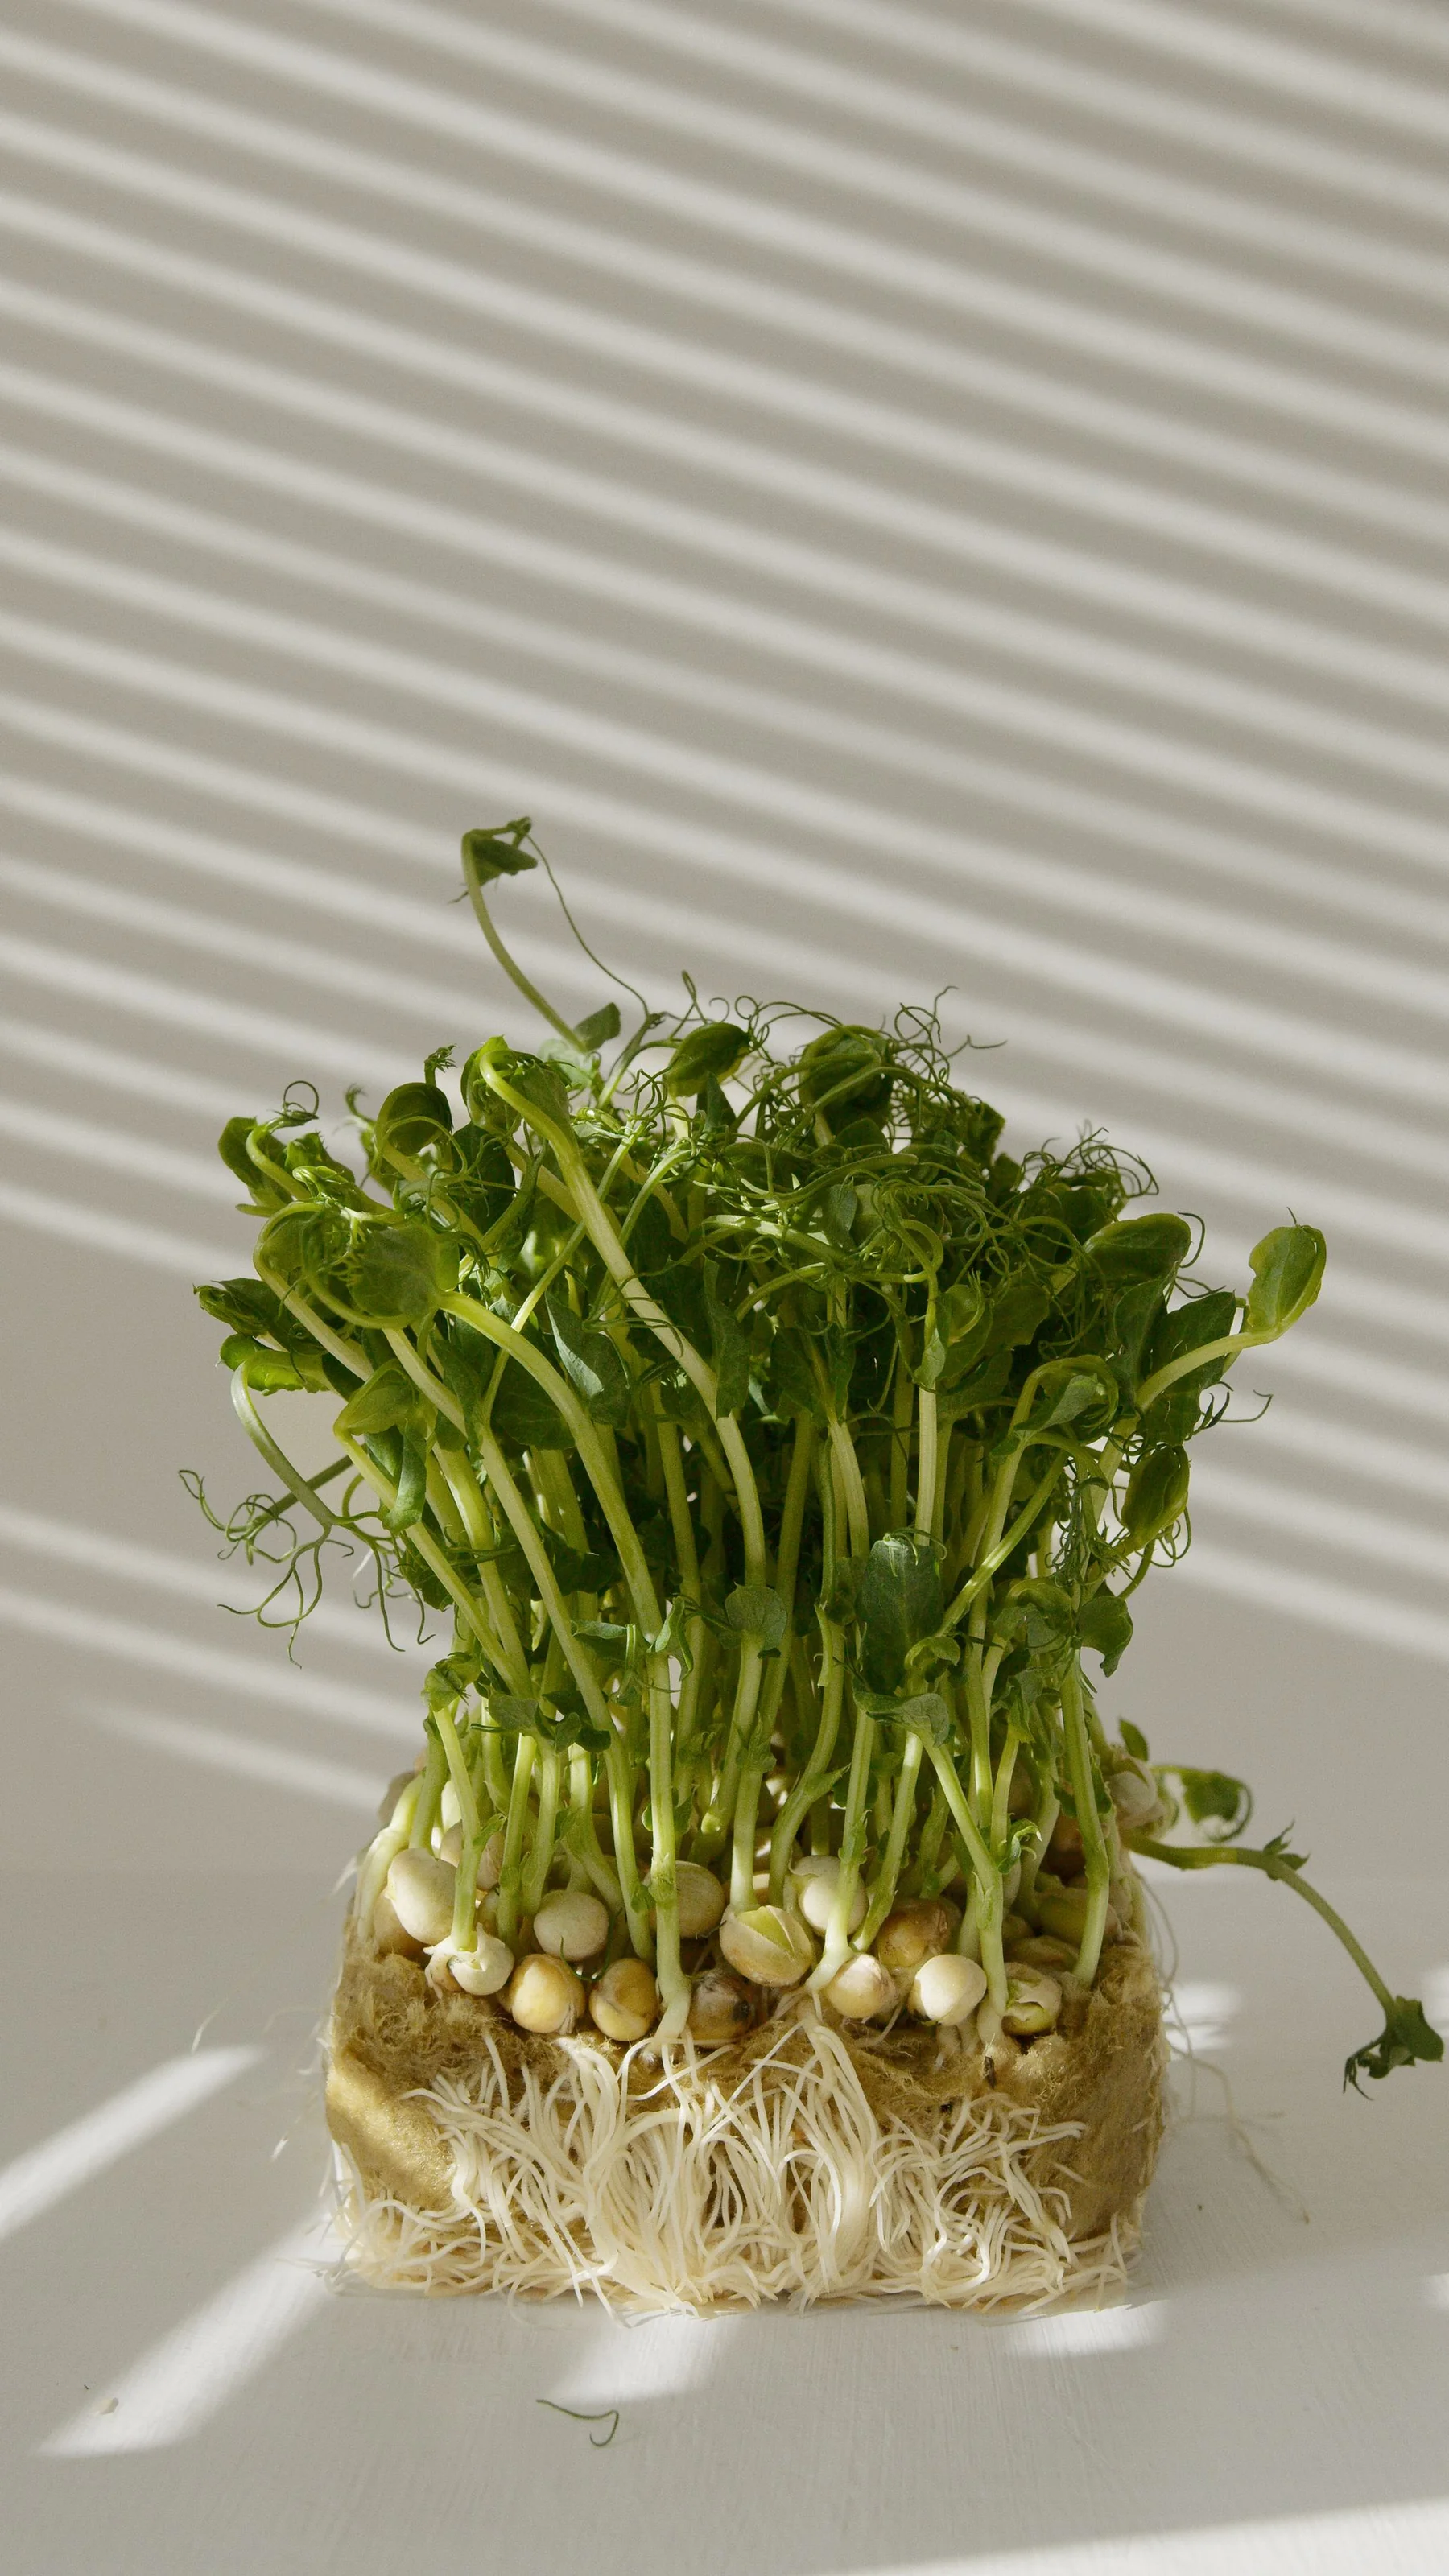
An old packet can look exactly like a fresh one, and a low germination result does not always mean every seed is dead. A small home test helps estimate whether a lot deserves tray space, but it is not a laboratory test and it does not predict every field condition. The useful result is a count, a date, and a decision: sow normally, increase the amount, replace the lot, or test a larger sample.
Decide what question the test should answer
Check the label first. Species, variety, lot number, and the supplier’s germination date can explain more than the packet’s purchase date alone. Some seeds remain viable longer than others, and warm or humid storage shortens that life. If the seeds were saved at home, record the harvest and storage conditions. A test from a packet stored in a hot garage says something different from one stored sealed and cool.
Use a test when the lot is old, has unknown storage history, or is important enough that failed emergence would disrupt a planting plan. Testing every packet may waste time and seed. A quick trial is most useful before a large sowing, a school project deadline, or the last available planting window. For a rare or small lot, choose a sample size that leaves enough seed for planting; ten seeds is easy to count but has a wide margin of uncertainty.
Penn State Extension describes a simple test using moist paper towel and a 5–10 day observation window. Actual germination speed varies by crop and temperature. Follow the species’ normal germination conditions where possible. A cool-season crop and a heat-loving crop should not be judged at the same temperature simply because both fit in a plastic bag.
Set up a clean, countable test
Count a fixed number of seeds from one packet and keep them separate from other varieties. Place them between layers of clean, damp—not dripping—paper towel. A plate, covered container, or loose plastic bag can limit drying, but leave enough air exchange to avoid a waterlogged, mold-prone environment. Label the test with crop, variety, lot, sample size, start date, and temperature location.
Keep the towel consistently moist and check it daily. If water pools, drain it; if the towel begins to dry, add a small amount of water. Avoid placing the test on a radiator or in direct sun. Too much heat can damage seed; too little can make a viable lot seem slow. If the ideal temperature is unknown, find a crop-specific Extension or seed supplier reference before interpreting the result.
At the end of the crop-appropriate interval, count seeds with a normal emerging root or seedling. Do not count moldy seed or a seed that only swelled unless the crop’s test protocol defines it as germinated. Photograph the result so you can compare future lots. If some seeds are still developing and the crop normally takes longer, extend the test rather than making a premature decision.
Turn a count into a cautious plan
- Write the denominator: “7 of 10” is more useful than “about 70%.”
- Use the simple estimate: germinated seeds divided by tested seeds, multiplied by 100.
- Account for sample size: a 10-seed test can shift by ten percentage points with one seed; a larger sample is more stable.
- Adjust sowing only when appropriate: for direct sowing, a low result may justify sowing more seed if spacing allows.
- Keep a backup: for a deadline or expensive tray space, buy a fresh lot or test a second sample before relying on the old one.
- Record conditions: temperature, moisture, start date, end date, and normal-seedling criteria make later comparisons meaningful.
If 8 of 10 seeds germinate, that does not promise an 80 percent stand in the garden. Field emergence also depends on planting depth, soil crusting, pests, moisture, and weather. A paper test isolates some of those variables, but not all. If the test is weak, retest a second sample when enough seed remains. A poor first result may reflect uneven seed quality or a poor setup.
Diagnose a disappointing result
Look for patterns. If all seeds from one variety fail while a different crop sprouts beside them, the lot may be old or stored poorly. If multiple varieties fail, inspect the test conditions: the towel may have been too wet, the temperature wrong, or the setup contaminated. If roots emerge but seedlings look abnormal, the seed may have low vigor even when germination technically occurred. Record what you saw instead of reducing every failure to “bad seed.”
Do not use bleach, fungicide, or hot-water treatment as a shortcut to improve an ordinary germination result. Treatments are crop-specific and can reduce germination if the concentration, temperature, or timing is wrong. If disease treatment is needed, follow a trusted Extension protocol and keep treated lots labeled. A home germination test does not identify a pathogen.
Store the rest of the lot better
Once the test is complete, return unused seed to a cool, dry, dark location in a sealed container. Let a chilled container warm before opening to reduce condensation. Keep packets labeled with the year tested and the result, but do not overwrite the original lot date. If a packet contains very few seeds, put the remaining amount on the record so the next grower knows the sample was small.
Let a small test inform, not certify, the packet
This is a household screening method. Species-specific dormancy, stratification, light needs, and germination temperatures may require another protocol. The 5–10 day window comes from Penn State’s introductory guidance; use the seed supplier or a crop-specific Extension source for a slower or dormant species. A successful paper test does not guarantee disease-free seed or field establishment.
Sources and further reading
- Seed and Seedling Biology — Penn State Extension
Paper-towel germination testing, sample counts, dormancy, and storage conditions.
- Troubleshooting seedling issues — University of Minnesota Extension
Separating seed-lot viability from potting-media problems when seedlings fail.