
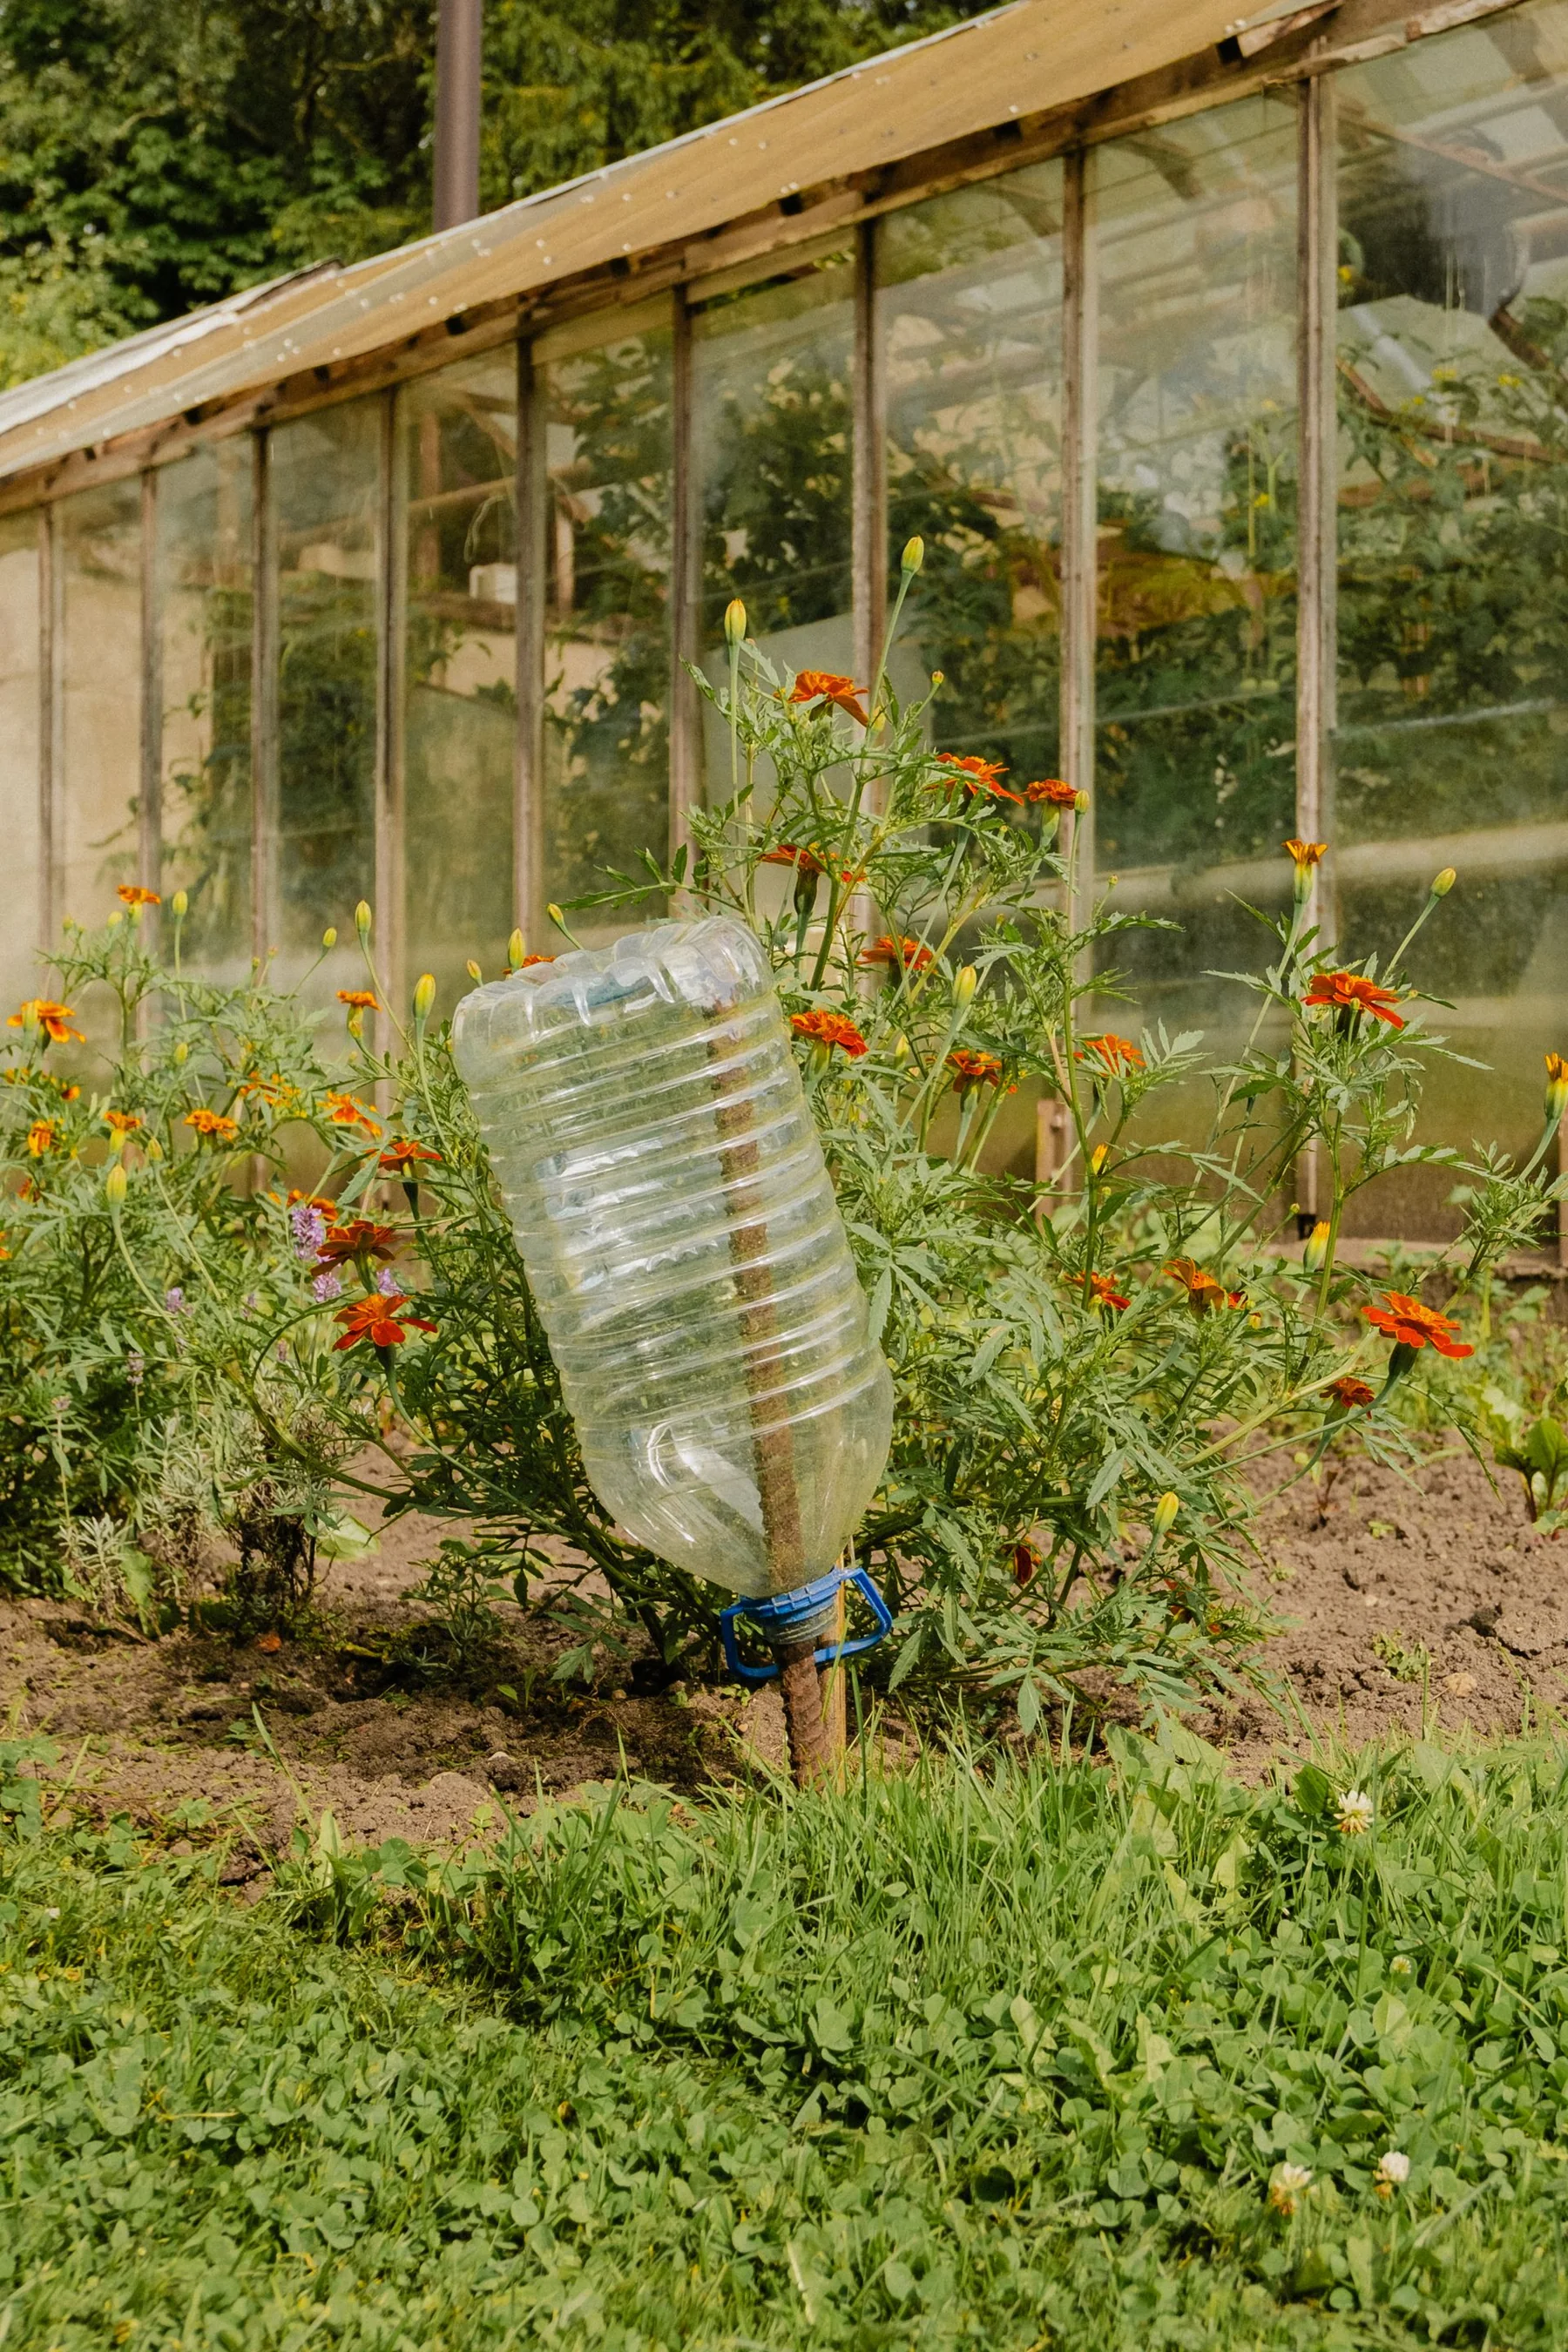
A self-watering planter can smooth out a hot week, but it does not make watering maintenance-free. A reservoir, wick, and potting mix must work together; if one part fails, the plant can be either dry or waterlogged while the container still looks full. The useful question is whether the design matches the crop and the gardener’s schedule, and whether the reservoir can be checked and cleaned.
Understand how the planter moves water
Most self-watering containers hold water beneath a growing medium and move it upward through a wick or a perforated platform. The roots take up water as the medium dries, while a fill tube replenishes the reservoir. Some systems include an overflow opening to limit the maximum water level. Read the manufacturer’s instructions for the exact model; a homemade bucket may not use the same reservoir depth or wick material.
The growing medium must remain porous enough for both water and air. A dense garden soil can stay saturated when connected to a reservoir. Use a container mix suited to the system and the crop. If the mix has dried until it repels water, capillary movement may be slow at first; wet it evenly before planting and confirm that water reaches the root zone.
Check the overflow and fill indicator. A reservoir that never empties can mean the crop uses little water, the weather is cool, a wick is blocked, or roots have not reached the moist zone. A reservoir that empties every day may reflect heat and wind, a small storage volume, or a leak. Neither pattern means “add fertilizer” by itself.
Choose a crop that fits the reservoir
Leafy greens, herbs, and some fruiting vegetables may work well when container size and light match their needs. A large tomato plant can use water quickly and requires stable support; a small reservoir may not last through a hot day. A succulent or other plant that needs a dry interval may be a poor match for a permanently connected reservoir. Check species and variety guidance before planting.
Plan the water demand around the site. A west-facing balcony in summer may dry faster than a shaded courtyard. A self-watering system can reduce daily variation, but it cannot compensate for a pot that is too small, a blocked drainage path, or an exposed location with extreme heat. Group plants by water needs and avoid putting a drought-tolerant herb in the same reservoir as thirsty greens.
A summer inspection routine
- At planting: wet the medium evenly, fill the reservoir, and confirm the overflow works.
- During the first week: check the root zone from above and below; young roots may not reach the water source.
- Before a heat alert: top up the reservoir and verify the wick, tube, and support are secure.
- After rain: empty any external saucer and check whether rain has already filled the reservoir.
- When leaves wilt: feel the medium, inspect roots and reservoir level, and look for pests before adding more water.
- Every few weeks: look for algae, sediment, salt crusts, odor, or leaks and clean according to the maker’s instructions.
Do not keep a full reservoir just because the planter is called self-watering. If the medium remains saturated and roots are pale or soft, empty the reservoir and let the medium regain air. If the plant droops while the mix is dry, check the wick connection and root contact. A temporary top watering may re-wet the medium, but the cause of a failed wick still needs repair.
Manage nutrients and salt buildup
Reservoir water can carry dissolved fertilizer into a confined root zone. Follow the potting mix and planter’s fertilizer recommendations rather than adding a strong feed to every refill. If white crust forms on the surface or pot edge, salts may be accumulating. Flush only if the container has a safe drainage path and local conditions allow it; do not let fertilizer-rich runoff enter a storm drain or neighboring balcony.
A reservoir can also support algae or mosquito larvae if it is exposed or not designed with a closed lid. Keep the fill opening covered, clean screens, and eliminate standing water that is not part of the planter’s controlled reservoir. If pests appear, identify them before applying a pesticide around edible plants.
Compare with a conventional pot
If you are unsure whether the system helps, compare it with a standard container planted with the same crop and mix. Record reservoir refills, top watering, leaf condition, and harvest. Place the pots in similar light and wind. The comparison will not be a formal trial, but it can show whether the self-watering design saves time in your actual summer conditions.
Winter and end-of-season care
Drain and clean the reservoir before freezing weather if the container will remain outdoors. Remove the wick if the manufacturer recommends it, and store the planter where water cannot freeze inside a sealed chamber. Check for cracks before spring. A damaged reservoir can leak onto a balcony or fail when the plant is heaviest.
Drain outdoor reservoirs before a hard freeze
Self-watering designs differ in reservoir size, wick, overflow, and intended crops. Follow the specific product instructions and regional container-gardening advice. This article does not guarantee a watering interval or replace checks during heat, travel, or plant stress. Balcony load, drainage, water-use, and building rules still apply.
Sources and further reading
- Container Vegetable Gardening: Four Keys to Success — Penn State Extension
Container drainage, root-zone air, water needs, and heat-season irrigation.
- Repotting Houseplants — Penn State Extension
Drainage-hole use, cachepots, and avoiding waterlogged container media.