
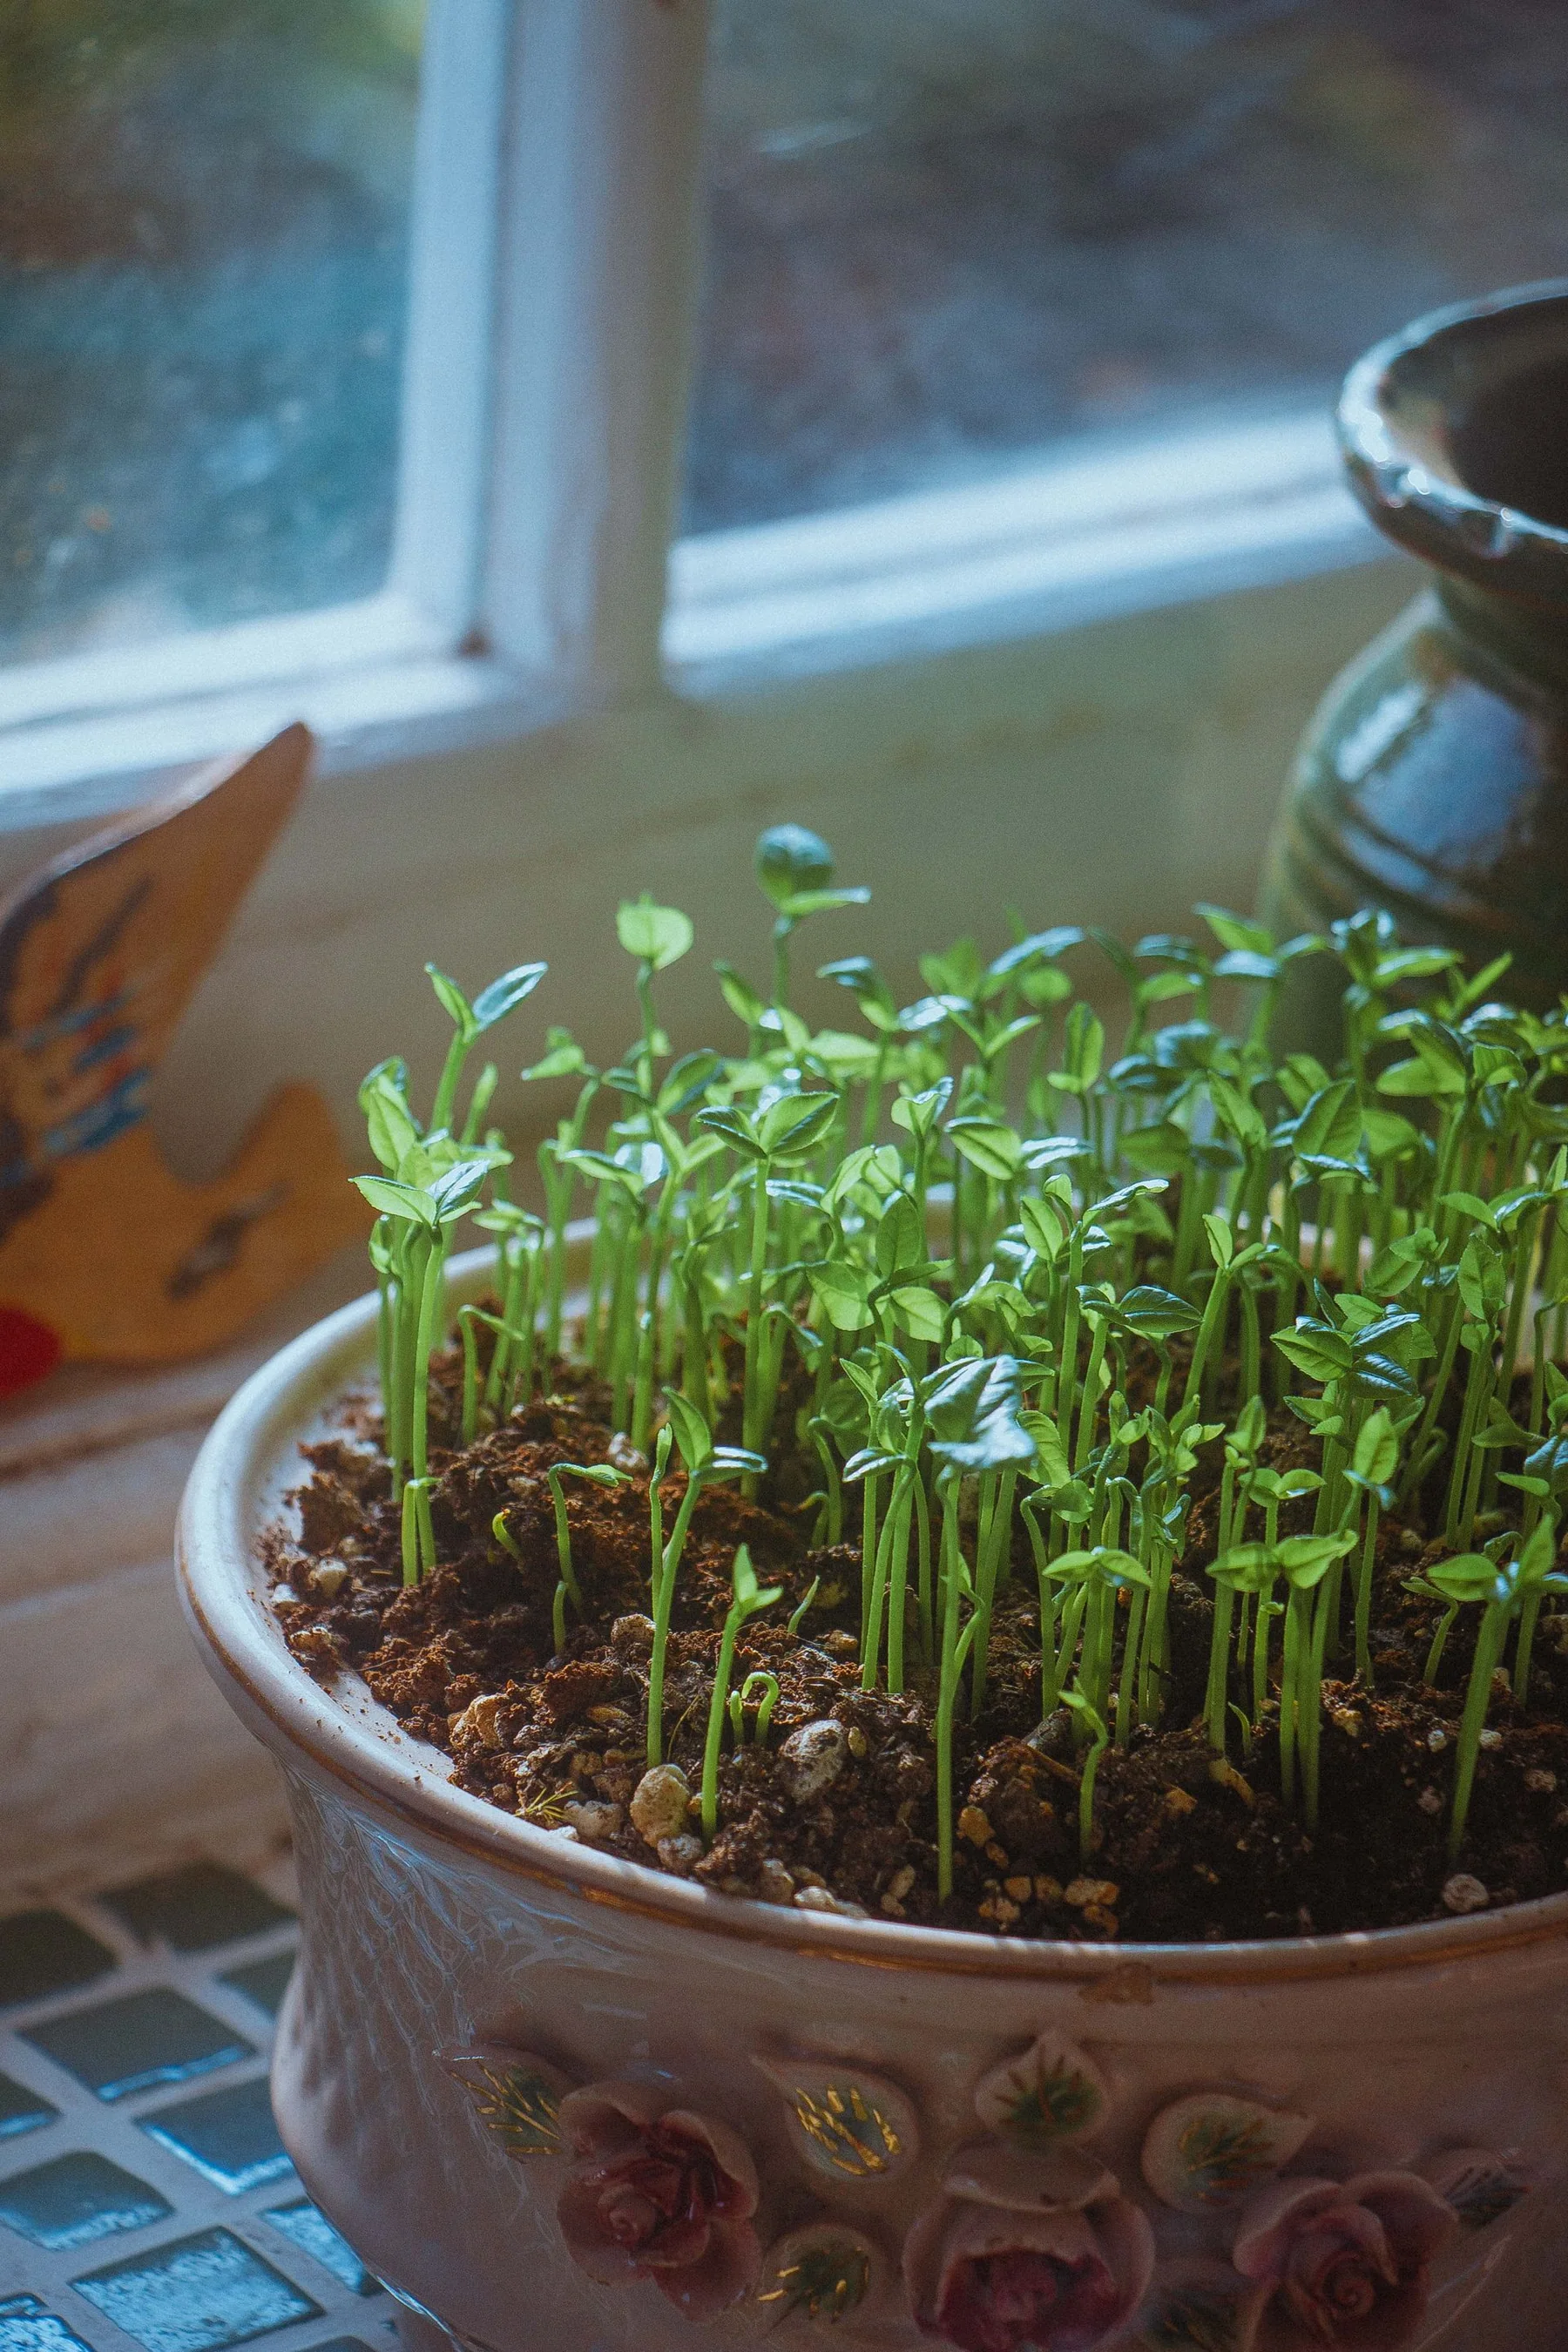
The brightest-looking window is not always the best place for seedlings. Glass, screens, nearby buildings, tree canopies, and the sun’s changing angle determine how much light reaches a leaf. A simple light map can show whether the sill is suitable, whether a shelf blocks the lower tray, or whether a timer-controlled grow light is needed before a leggy seedling becomes difficult to correct.
Track sun and shade across the day
Write down the window’s compass direction, nearby obstructions, and the times when a direct beam reaches the sill. Repeat the observation every hour or two on a clear day, then compare it with a cloudy day. Direct sun through glass can heat leaves and trays, while a bright room with no direct beam may still provide useful diffuse light. Record these as separate conditions.
Make a sketch showing each tray position and its distance from the pane. The edge nearest the glass may be much colder at night and warmer in midday sun than the room. A shelf above the sill can shade lower plants. If seedling stems lean, rotate the tray and see whether the growth changes; persistent stretching can signal that the light level or duration is inadequate.
Use a plant-specific reference to choose a target. Minnesota Extension’s seedling-light guidance recommends long daily light periods for seedlings, while its indoor-plant guidance gives different durations for herbs and houseplants. These are starting points for Minnesota conditions and particular growing groups, not a promise that any lamp at that duration will provide enough intensity. Light quality and distance matter too.
Place a grow light with even coverage
Choose a fixture sized for the tray and position it so all seedlings receive similar light. A single bulb above the center can leave edges weak. Follow the manufacturer’s safe mounting distance and check leaf temperature; lights placed too close can scorch or overheat plants. Raise the fixture as seedlings grow, keeping the top leaves at a consistent distance.
Use a timer to provide a predictable day and dark period. Seedlings need darkness as part of normal growth, so keeping a lamp on around the clock is not a good substitute for adequate intensity. Write the start and stop times on the tray label. If natural sunlight supplements the lamp, note the window hours too; the timer period may need adjustment as days lengthen.
Keep the window and lamp clean. Dust, condensation, and screens reduce light. A reflective backing can redirect light, but avoid creating intense hot spots or blocking ventilation. Measure again after moving the tray, changing a shelf, or pruning a nearby tree. A map from December does not represent June conditions.
A weekly seedling-light audit
- Direction: record window direction and obstructions above, outside, and beside it.
- Duration: note direct-beam hours and lamp-on hours separately.
- Distance: measure fixture-to-leaf distance and adjust as plants grow.
- Growth: compare stem length, leaf color, and lean across the tray.
- Temperature: check for cold glass at night and hot leaves during midday sun.
- Change: adjust one variable, then observe new growth for several days before changing another.
For a narrow sill, divide the space into left, center, and right zones and compare the same crop in each. Keep tray labels facing the room and rotate trays on a recorded schedule rather than at random. That small routine helps separate uneven window exposure from a problem affecting the whole batch.
Read plant signals without overdiagnosing
Long, thin stems and wide gaps between leaves can indicate too little light, but crowded seedlings, warm air, or excess nitrogen can contribute. Pale leaves may reflect nutrient issues, root stress, or light. Burned patches can result from excessive direct sun, a lamp too close, or water droplets in intense light. If a symptom spreads or affects only one variety, photograph it and check an Extension diagnosis resource before applying fertilizer or pesticide.
If seedlings are already stretched, add appropriate light and provide gentle airflow and support. Burying stems deeply is safe for some crops and harmful for others; do not apply a tomato-specific transplant trick to every seedling. A leggy seedling may recover, but it will not always become a sturdy transplant. Start a small replacement batch if the planting date allows.
Account for the room, not just the window
Seed trays near a cold pane may have a root temperature well below room temperature. Move them back at night or use an insulated mat only with a thermostat and crop guidance. Do not place trays on a radiator or in direct hot air from a vent. Warmth can speed germination while light remains insufficient, creating stretched growth immediately after emergence.
Keep a seasonal record
Record sow date, crop, window, lamp model, timer schedule, and transplant result. Photograph the same tray weekly. If seedlings were compact in spring but stretched in a later batch, compare daylight, lamp distance, and room temperature. These records make the next setup more efficient than purchasing a stronger light without knowing what the plants lacked.
Repeat the light map as the sun angle changes
Light needs vary by crop, cultivar, fixture, and latitude. Phone lux readings are rough comparisons and do not measure the plant-useful spectrum precisely. Follow local Extension and lamp safety guidance. This article helps map household light; it does not replace a crop-specific germination or transplant schedule.
Sources and further reading
- Lighting for indoor plants and starting seeds — University of Minnesota Extension
Seedling light duration, distance, plant signals, and supplemental lighting.
- Starting seeds indoors — University of Minnesota Extension
Windowsill temperature swings, indoor seed-starting setup, and seedling light.